Plan the handoff around the bed, not just the calendar
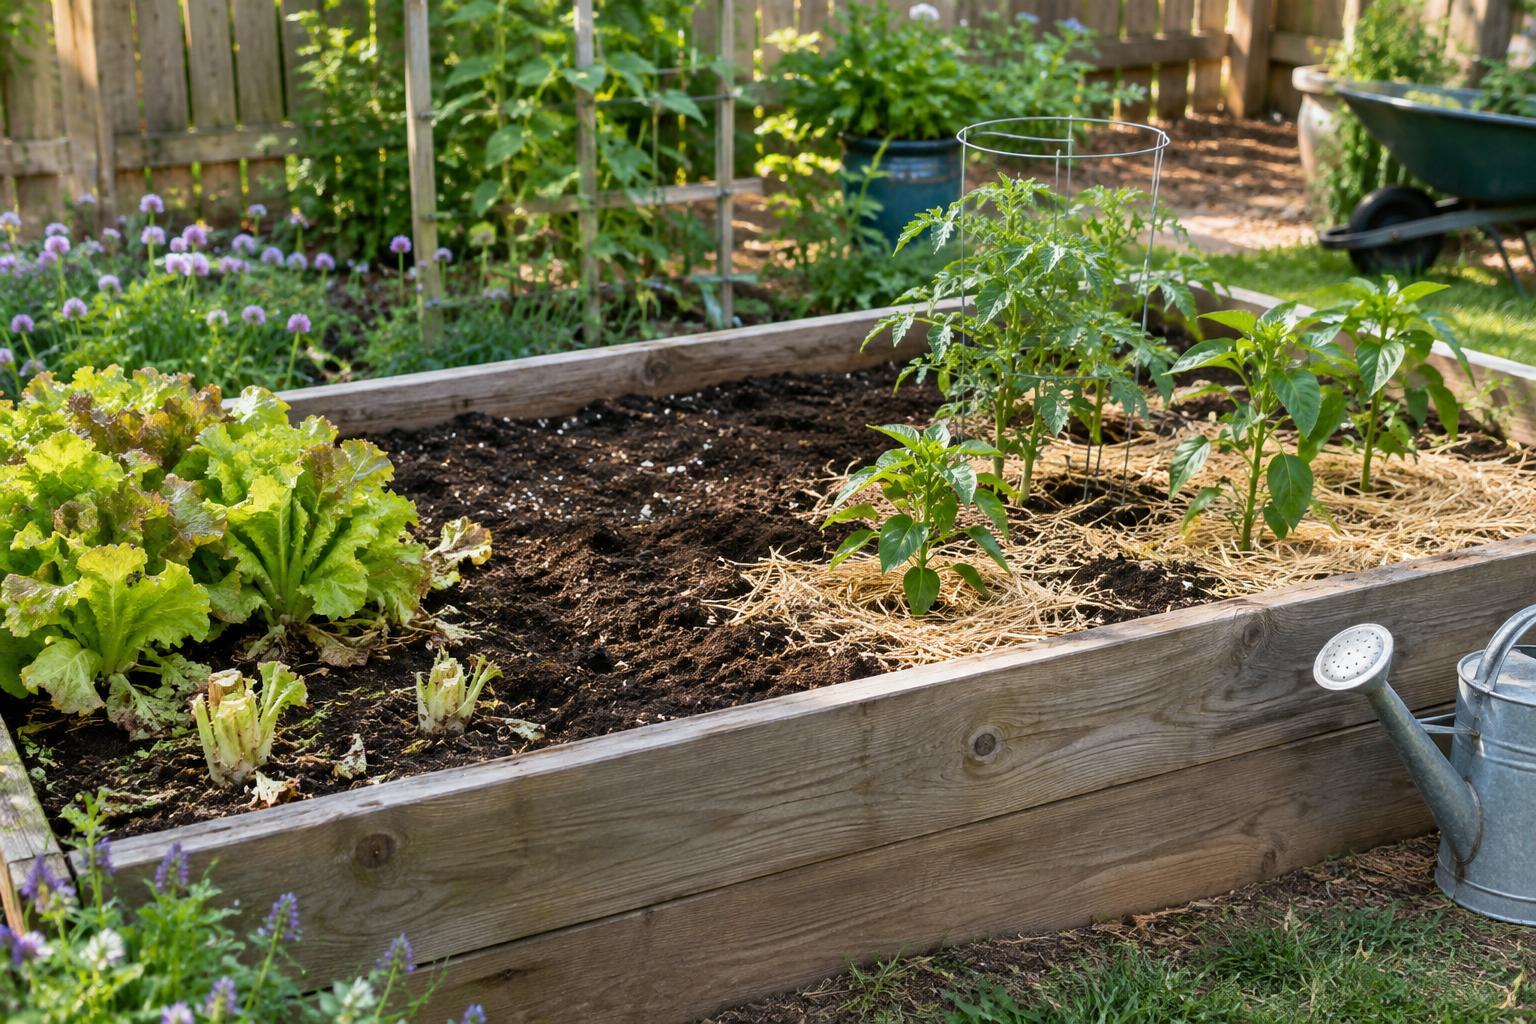
The shift from spring vegetables to summer crops is rarely a single planting day. Lettuce, peas and other cool-season crops may still be producing when tomatoes, peppers, beans or squash are ready for space. Start by sketching what is growing in each bed and what you want to plant next. This makes it easier to harvest fully, prepare the soil and avoid leaving young summer plants waiting too long in their pots.
Use local conditions to guide timing. Warm-season vegetables generally grow best after frost risk has passed and the soil has begun to warm, but those points arrive at different times in different climates. A sunny afternoon is not the same as reliably warm nights. If the weather remains unsettled, keep tender plants protected and wait rather than rushing them into cold ground. Where summers arrive quickly, sowing or transplanting soon after a spring harvest can help make use of the growing season.
Harvest, clear and assess what remains
Pick usable produce before clearing a bed. Leafy crops can often provide a final harvest, while pea plants should be checked for remaining pods. Remove spent plants that are diseased or heavily infested with pests rather than mixing them into a home compost pile that may not get hot enough to break down the problem. Healthy plant material can be composted if you have room.
Once the bed is clear, look closely at the soil. Is it compacted where you stepped, crusted on top or still moist beneath the surface? Pull weeds while they are small, including those hidden around bed edges. If the soil is wet enough to stick to your tools, give it time to dry before digging or raking. Working saturated soil can leave it cloddy and harder for roots to explore.
Refresh the soil without starting over
Most established vegetable beds need a modest refresh, not a complete rebuild between crops. Loosen compacted areas with a garden fork while disturbing the soil as little as practical. Spread a layer of finished compost over the surface and gently mix it into the upper soil if needed for planting. Compost can improve soil structure, but it is not a substitute for learning what your soil needs. If growth has been consistently poor, a soil test can help you decide whether any additional amendment is appropriate.
Think about the next crop’s footprint before planting. Tomatoes may need stakes or cages, climbing beans need support, and sprawling squash needs room beyond the spot where its seed goes in. Place supports early, when they are less likely to disturb established roots. If possible, avoid putting a crop in the same place where a closely related crop recently struggled with disease; moving it to another bed may reduce the chance of repeating the problem.
Plant for a steady start
Seedlings raised indoors or in a sheltered spot need time to adjust to direct sun, wind and outdoor temperature changes. Introduce them to outdoor conditions gradually over several days, bringing them back under cover if a cold night or harsh weather threatens. Water pots before planting so root balls are evenly moist, then set transplants at the spacing recommended for the variety. Crowding may seem efficient at first, but it can make watering, harvesting and air movement more difficult later.
For crops you sow directly, such as beans, check that the soil is suitably warm for the seed and keep the seeded area consistently moist until germination. Planting depth varies by crop, so use the seed packet as your guide. Whether you sow or transplant, label rows or planting spots before small seedlings become hard to identify among emerging weeds.
Manage moisture, mulch and the first few weeks
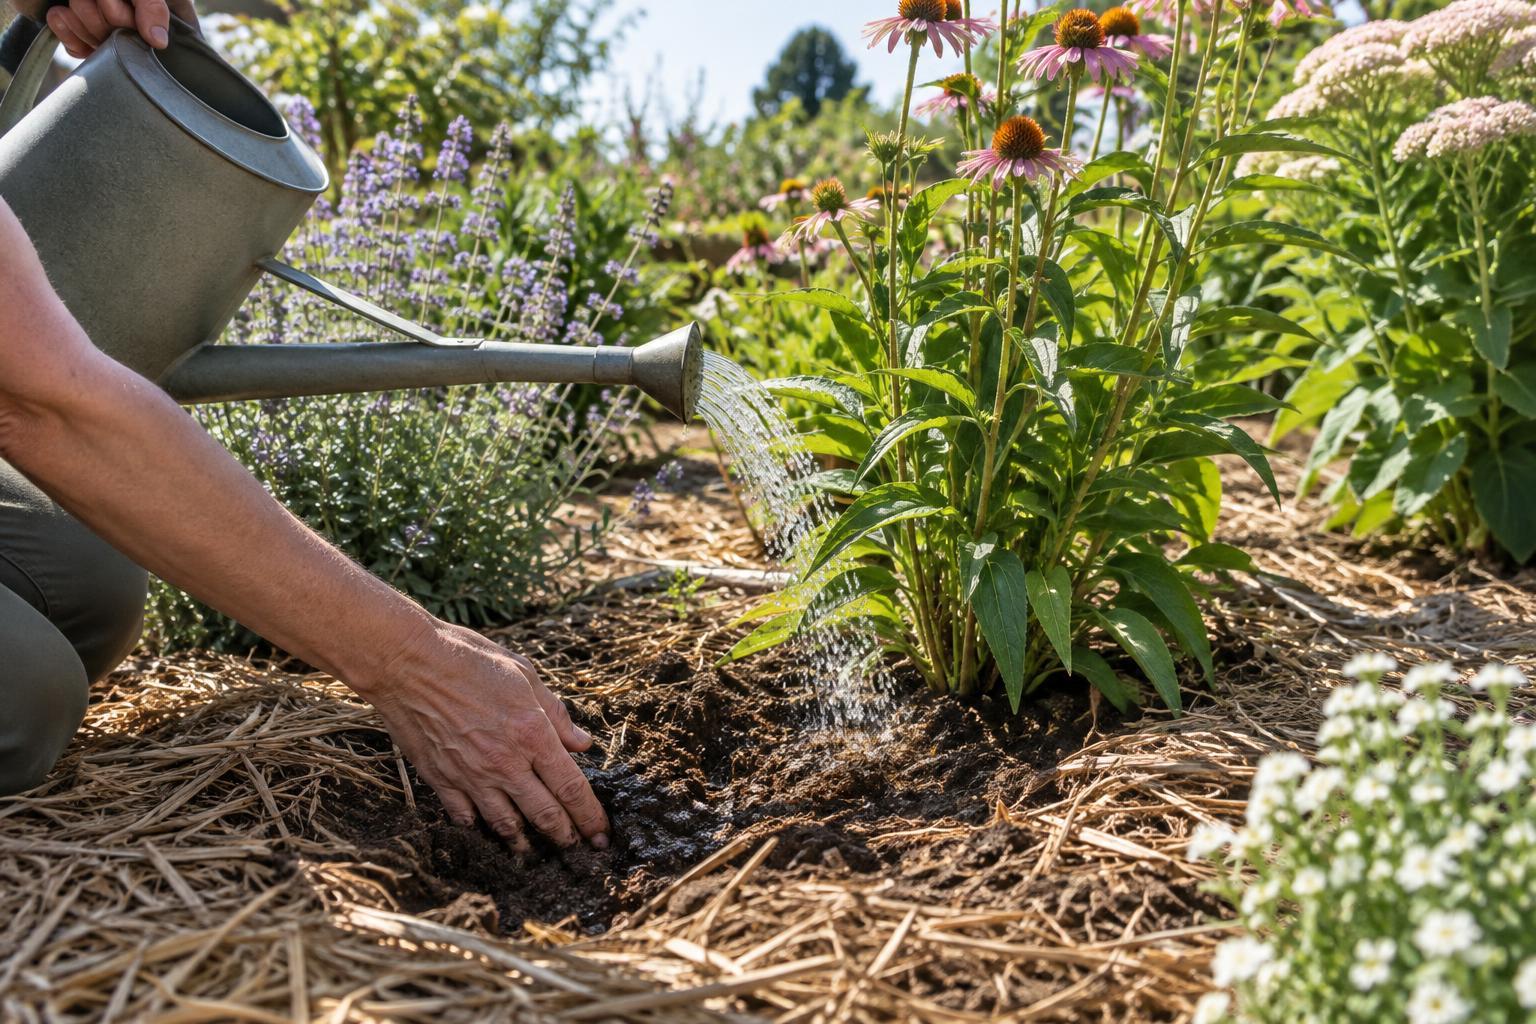
Water newly planted beds thoroughly so moisture reaches the root zone, then check the soil regularly rather than relying on a fixed schedule. A finger pressed into the soil can help you tell whether the surface is merely dry or the root area needs water. Directing water toward the soil instead of repeatedly wetting leaves is a practical habit, especially where humid conditions encourage plant disease.
Once the soil has warmed and plants are established, add an organic mulch such as clean straw or shredded leaves to help slow evaporation and suppress weeds. Keep it a little clear of stems, and avoid laying it so thickly that water struggles to reach the soil. In cool climates, mulching too early can slow warming, so wait if the bed still feels chilly.
For the next couple of weeks, look for wilting, new growth, pest damage and weeds. Some transplant droop after a hot afternoon may pass, but persistent wilting calls for a closer check of soil moisture and roots. Small, frequent observations let you correct problems while summer crops are still settling in—and help the bed move smoothly from one season of harvests to the next.