Start with a place for the water to go
A patio needs a slight, consistent fall so rain moves across its surface instead of collecting beside the house. The aim is not simply to make the edge nearest the house higher. Before marking levels, look at where water will travel after it leaves the patio. A lawn or planted area may be able to receive it; a low spot that already stays wet is unlikely to help.
Watch the space during or shortly after rain if you can. Note downspouts, paths, steps and nearby ground that may send additional water toward the patio. Keep runoff from being directed toward a neighbor’s property. If the patio has walls or raised borders on several sides, surface slope alone may not provide an exit, and a suitable drain may be needed.
Choose and calculate a gentle fall
For many outdoor patio surfaces, a fall of about 1/4 inch per foot away from the house is a useful planning guide. Over a 10-foot run, that means the outer edge would be about 2 1/2 inches lower than the edge by the house. The exact slope that works can depend on the paving material, local requirements and the site, so check relevant installation guidance before building.
Measure the run in the direction you want water to travel, then multiply that distance in feet by 1/4 inch. Mark the intended finished height at both ends using stakes and a taut string or a level. Check more than one line across a wide patio: a surface can have the right fall along one edge yet dip in the middle. Keep door thresholds and vents clear when setting the height at the house.
Build the slope into the base
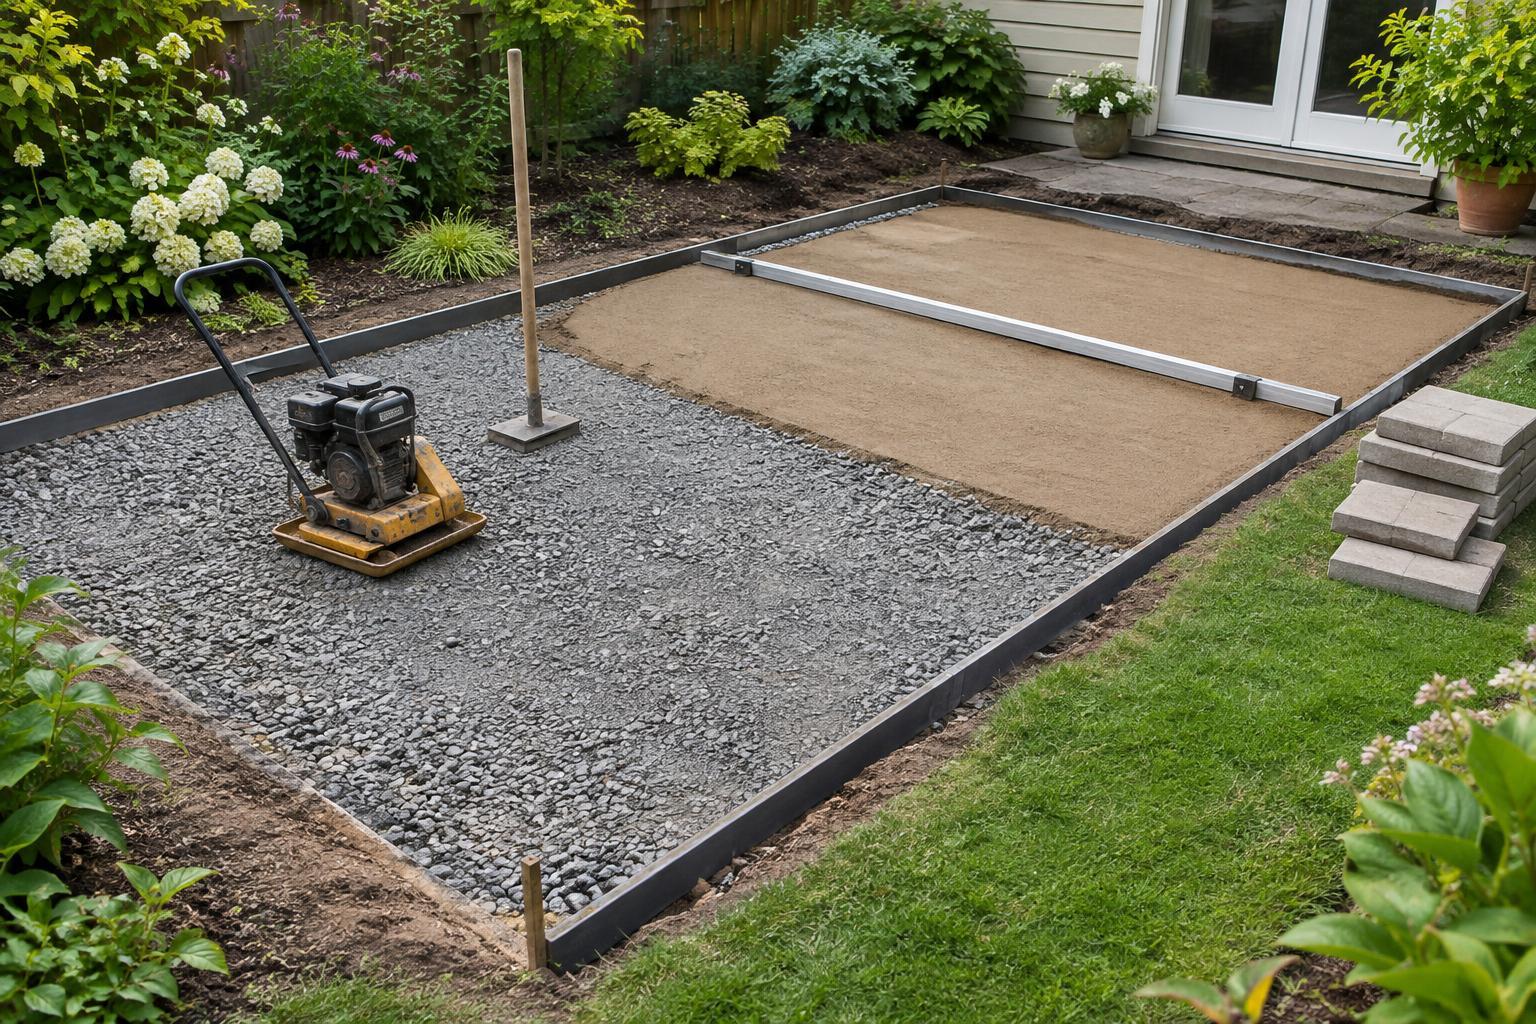
The finished surface should follow a firm, evenly graded base. Scraping a shallow channel into the paving layer or lifting a few slabs at the outer edge is not a reliable substitute. For a new patio, remove enough material to allow for the paving and its required base while preserving the planned fall. Compact and grade each base layer as appropriate for the chosen surface, checking against your height marks as you work.
For pavers, follow the product’s guidance for base materials, bedding and edge restraints. For poured concrete, slope must be established when the forms and base are prepared, before the concrete is placed. In either case, avoid small hollows where water can sit. A long straightedge and level can help reveal uneven spots that are hard to see by eye.
Check the finished route for runoff
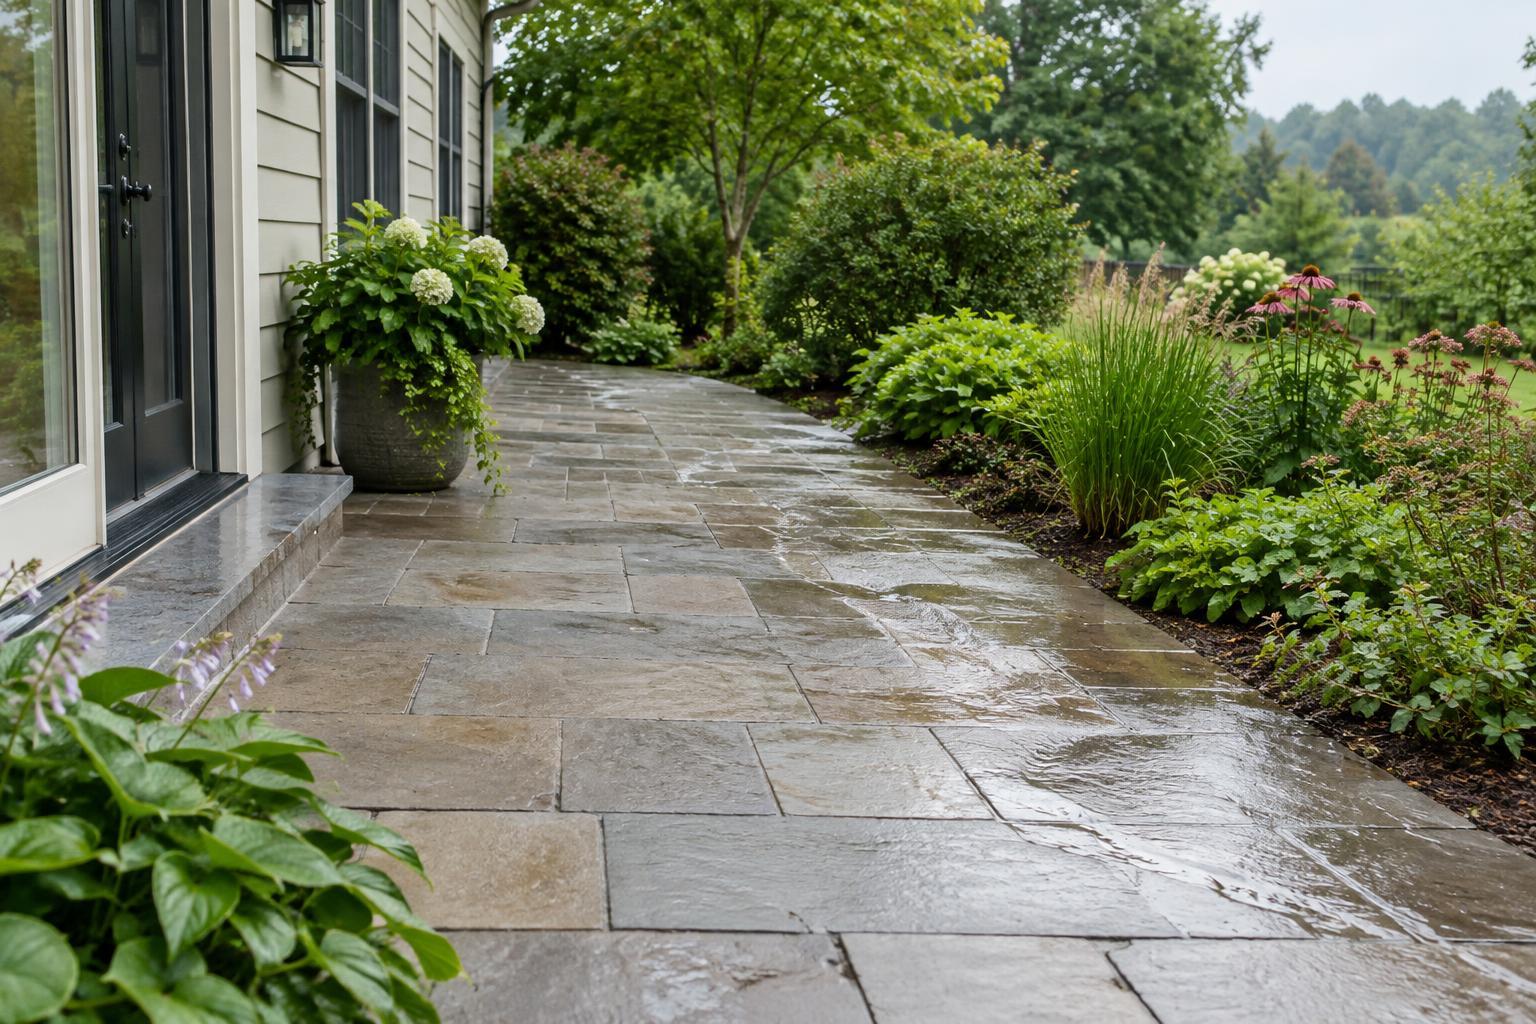
Once the surface is in place, check that water has a clear route from the house edge to the intended outlet. A gentle hose test can reveal puddles and unexpected changes in direction, though it will not show every problem that a heavy rain might expose. Look closely at corners, the junction with steps, and places where paving meets garden beds or edging.
Do not assume that a permeable patio removes the need for a drainage plan. Water still needs somewhere to enter the ground or move onward, and compacted soil beneath or beside the patio can limit that path. Keep soil, mulch and planting beds from building up over the outlet edge as the garden changes.
Know when a simple slope is not enough
A new patio cannot always solve water problems caused by the wider site. If the ground rises away from the house, a downspout empties beside the foundation, or a low doorway leaves little room for a safe change in height, pause before raising or extending the paving. Changing the patio level without addressing those conditions may trap water against the building.
Where runoff has no suitable place to go, or water has already entered the house, get site-specific advice from a qualified drainage or hardscape professional. For a straightforward site, planning the outlet first, setting measured heights, and checking the base at each stage will do more for drainage than trying to correct puddles after the patio is finished.