Why planting depth matters
Planting depth is easy to overlook because a container-grown plant arrives surrounded by soil. It is tempting to place the top of that soil level with the garden bed and call the job done. But the soil surface in the pot is not always a reliable guide: it may have settled, or soil may have been added around the stems. Before digging, look for the point where the plant’s stems meet its roots.
When that junction is buried, the base of the plant may stay wetter than it should, especially in slow-draining ground. A plant set too high, on the other hand, can leave upper roots exposed to drying. The aim is not an exact measurement for every species, but a position that keeps the crown or root flare visible while giving the roots firm contact with the surrounding soil.
Find the crown or root flare first
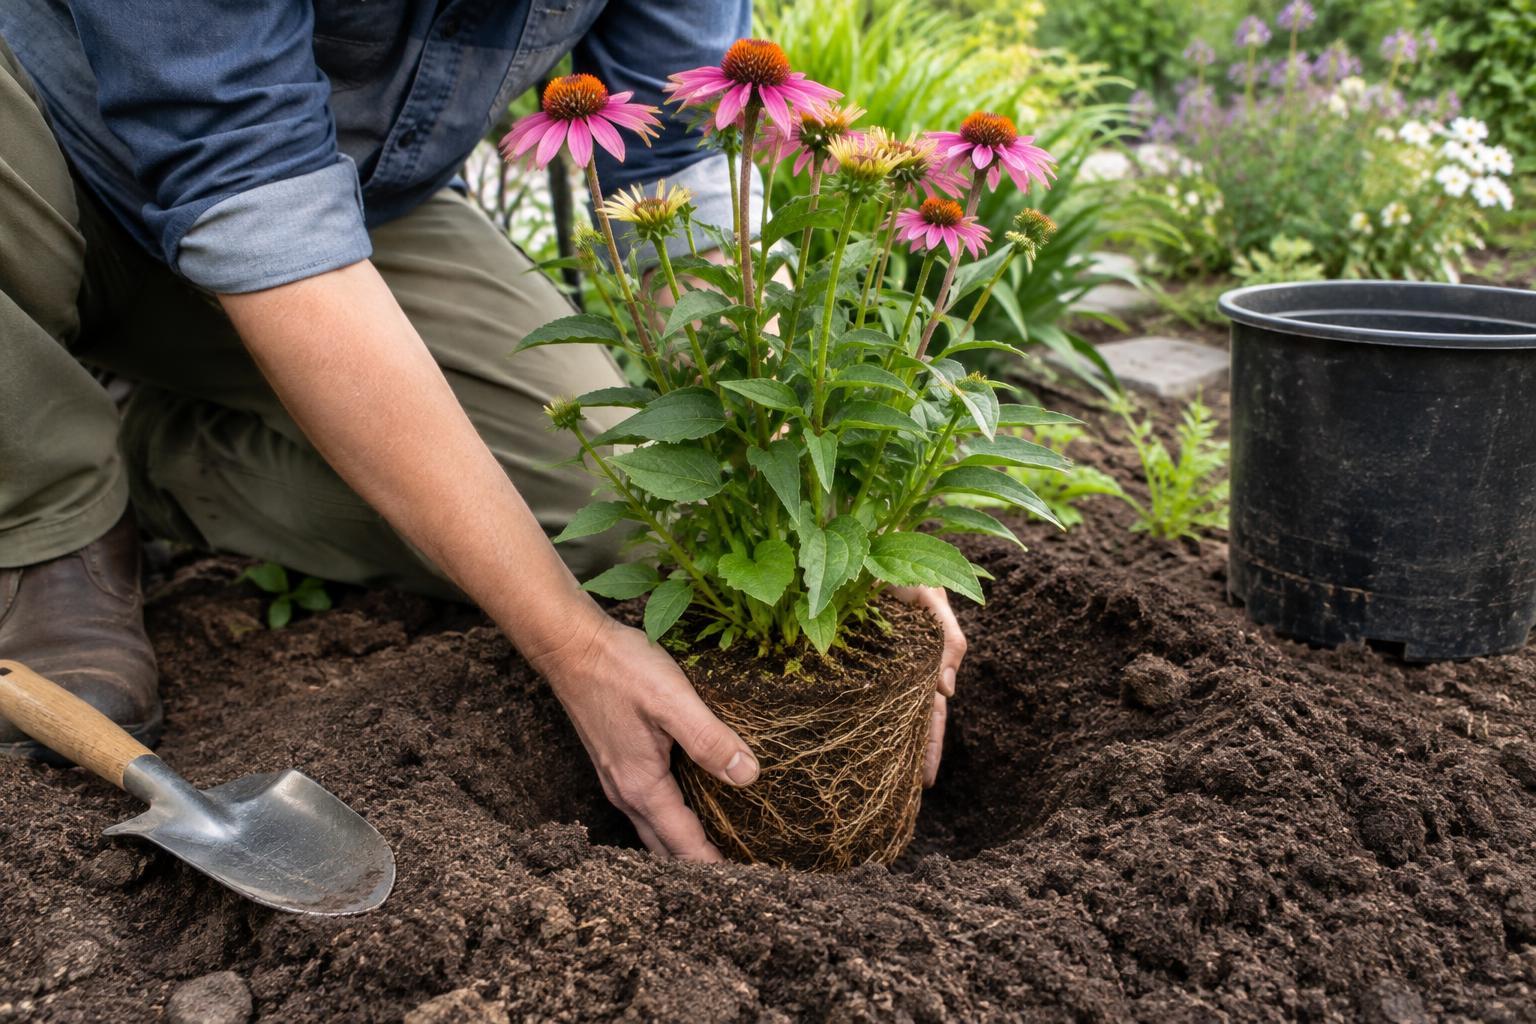
For most herbaceous perennials, the crown is the area where shoots emerge and roots begin. Gently brush loose potting mix away from the base until you can see it. Set the plant so the crown is roughly level with the finished soil surface. Some perennials have specific planting-depth preferences, so follow the plant label when it gives clear guidance.
On a woody shrub, look for the root flare: the slight widening at the base of the main stems or trunk where the upper roots spread outward. It can be subtle, particularly on a young plant. If the potting mix covers it, carefully remove a little mix from the top of the root ball to locate the uppermost substantial roots. The flare should sit at or just above the surrounding soil level after planting and watering.
Dig a wide hole, then check its depth
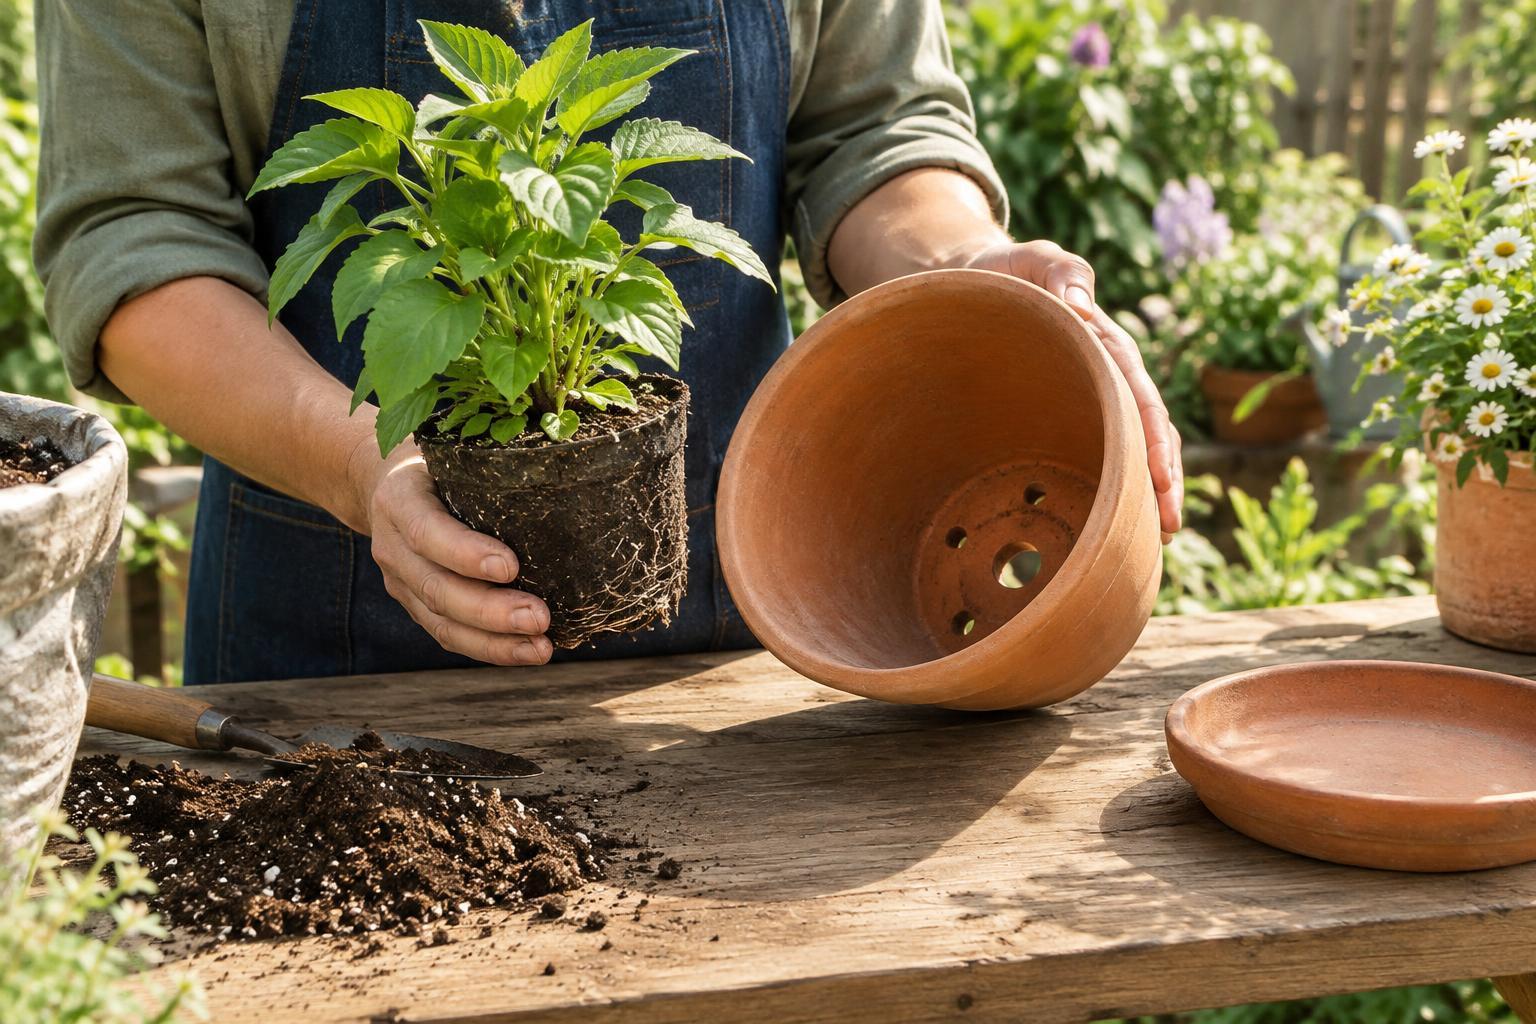
Choose a site that suits the plant’s light, space and drainage needs. Water a dry root ball before planting so it is easier to handle and does not immediately draw moisture from the backfill. Dig a hole wider than the root ball to give roots loosened soil to grow into. Keep the bottom firm rather than digging too deep and refilling it with loose soil, which can settle later.
Measure from the bottom of the root ball to the crown or root flare, not simply to the surface of the potting mix. Use that measurement to check the hole. In heavy or poorly drained soil, setting the root ball slightly high can help prevent soil from washing over the plant’s base, but it will not fix a site that regularly holds standing water. If the plant sits too low during a trial fit, lift it out and add firm soil beneath it before continuing.
Free the roots and backfill carefully
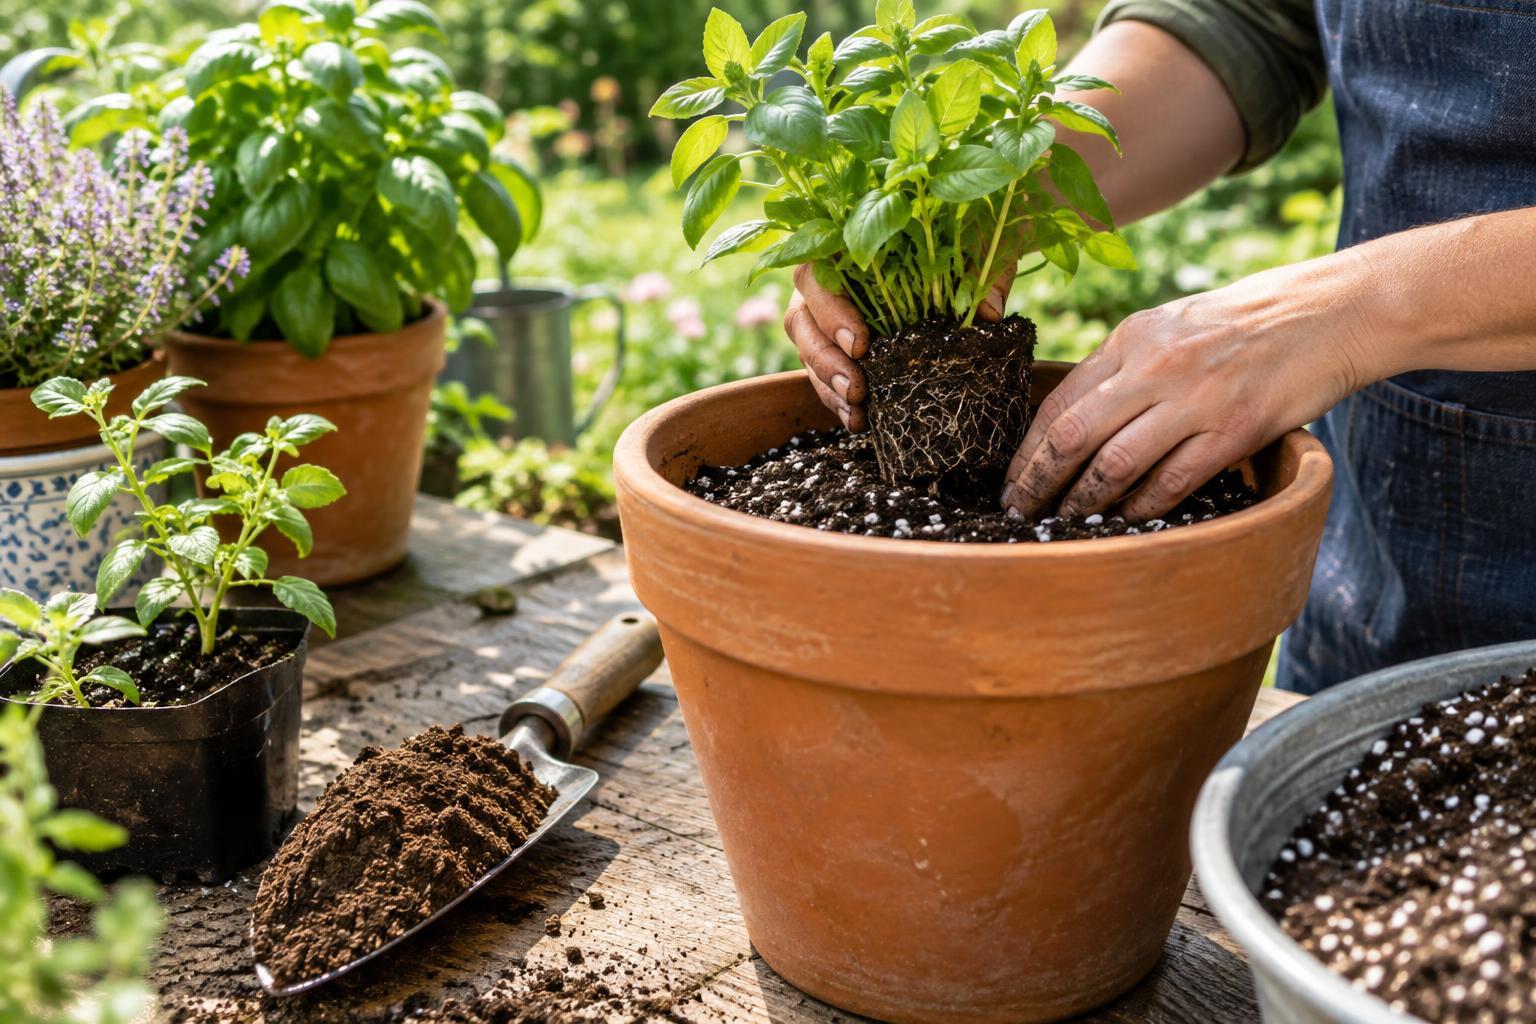
Slide the plant from its container and inspect the roots. If they are growing outward, disturb them as little as necessary. If fine roots form a dense mat or circle the outside, gently tease some outward. For a tightly bound root ball, a few shallow cuts along its sides may help redirect growth. Remove any visible circling roots that could constrict a woody stem as it grows, taking care not to strip away more roots than needed.
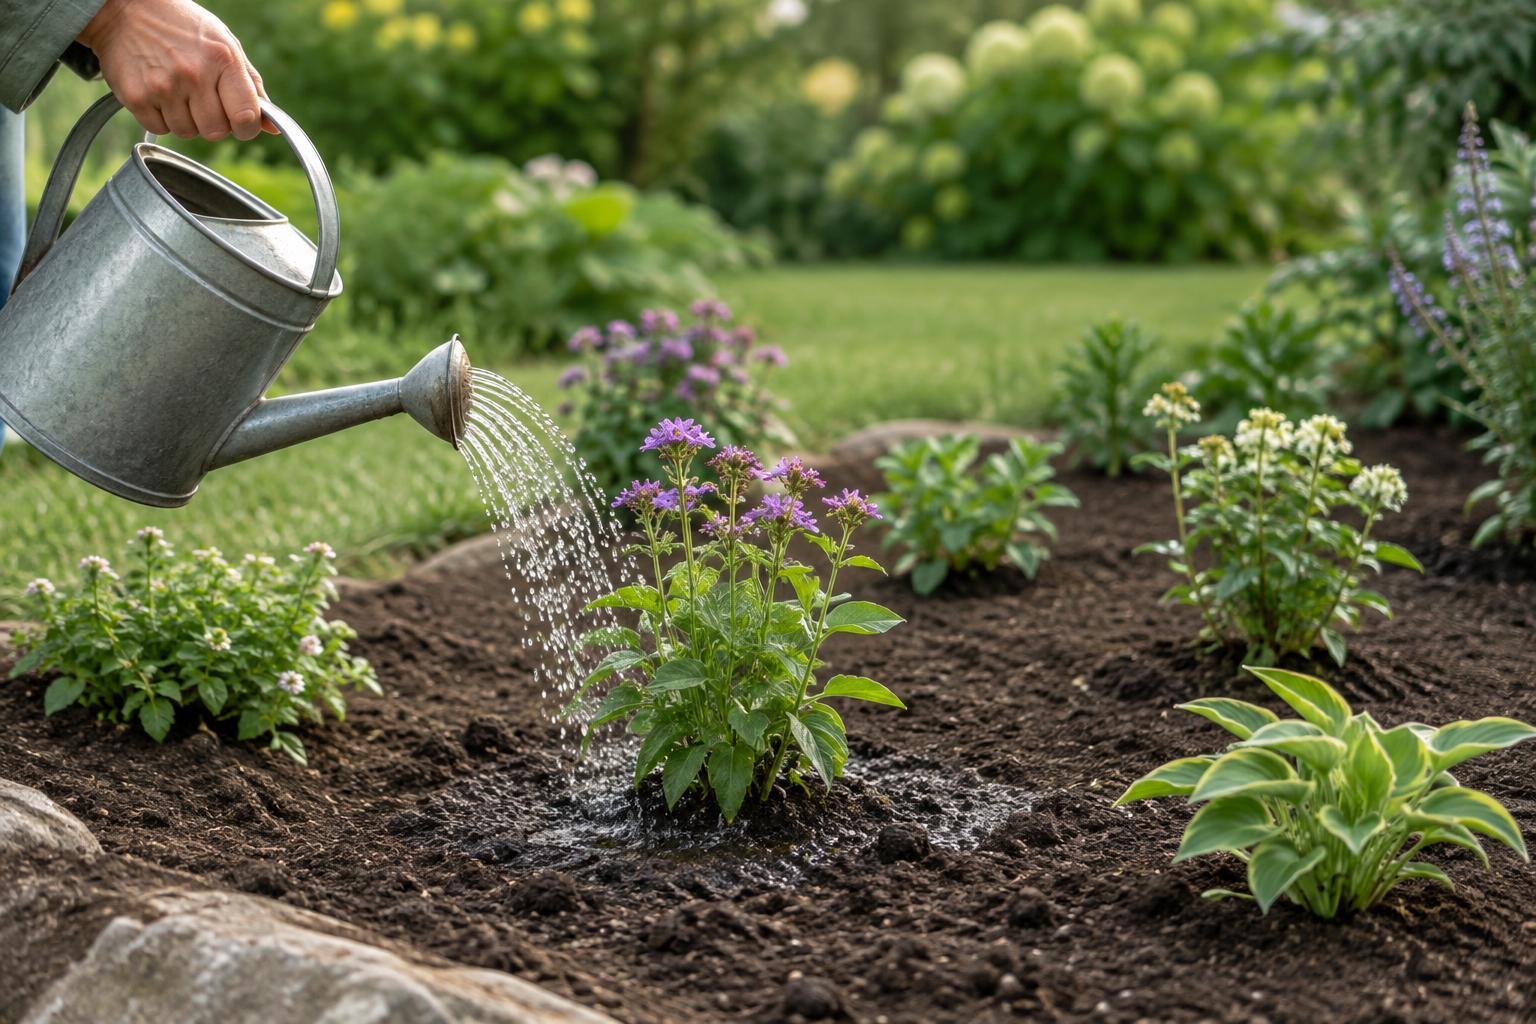
Place the plant in the hole and check the crown or flare again from ground level. Backfill with the soil you removed, breaking up large clods and easing soil around the roots without stamping it hard. Avoid building a mound of soil against the stems to make the bed look even. Water thoroughly to settle the soil, then recheck the depth; if the plant has sunk, gently lift and reset it while the soil is still workable.
Keep the right depth through aftercare
Spread mulch over the surrounding soil to help limit evaporation and weeds, but leave a gap around the crown and woody stems. Mulch piled against the base can effectively bury a correctly planted shrub or perennial. Keep an eye on nearby beds, too: later top-ups of compost or mulch can gradually raise the surface around an established plant.
New plantings need attention while their roots grow into the surrounding soil. Check moisture beneath the surface and water when the root zone is becoming dry, adjusting to rainfall, temperature and soil type rather than following a fixed schedule. After a heavy watering or rain, look once more at the base. If soil has washed over the crown or flare, pull it back gently. That small check helps preserve the depth you took care to set at planting.