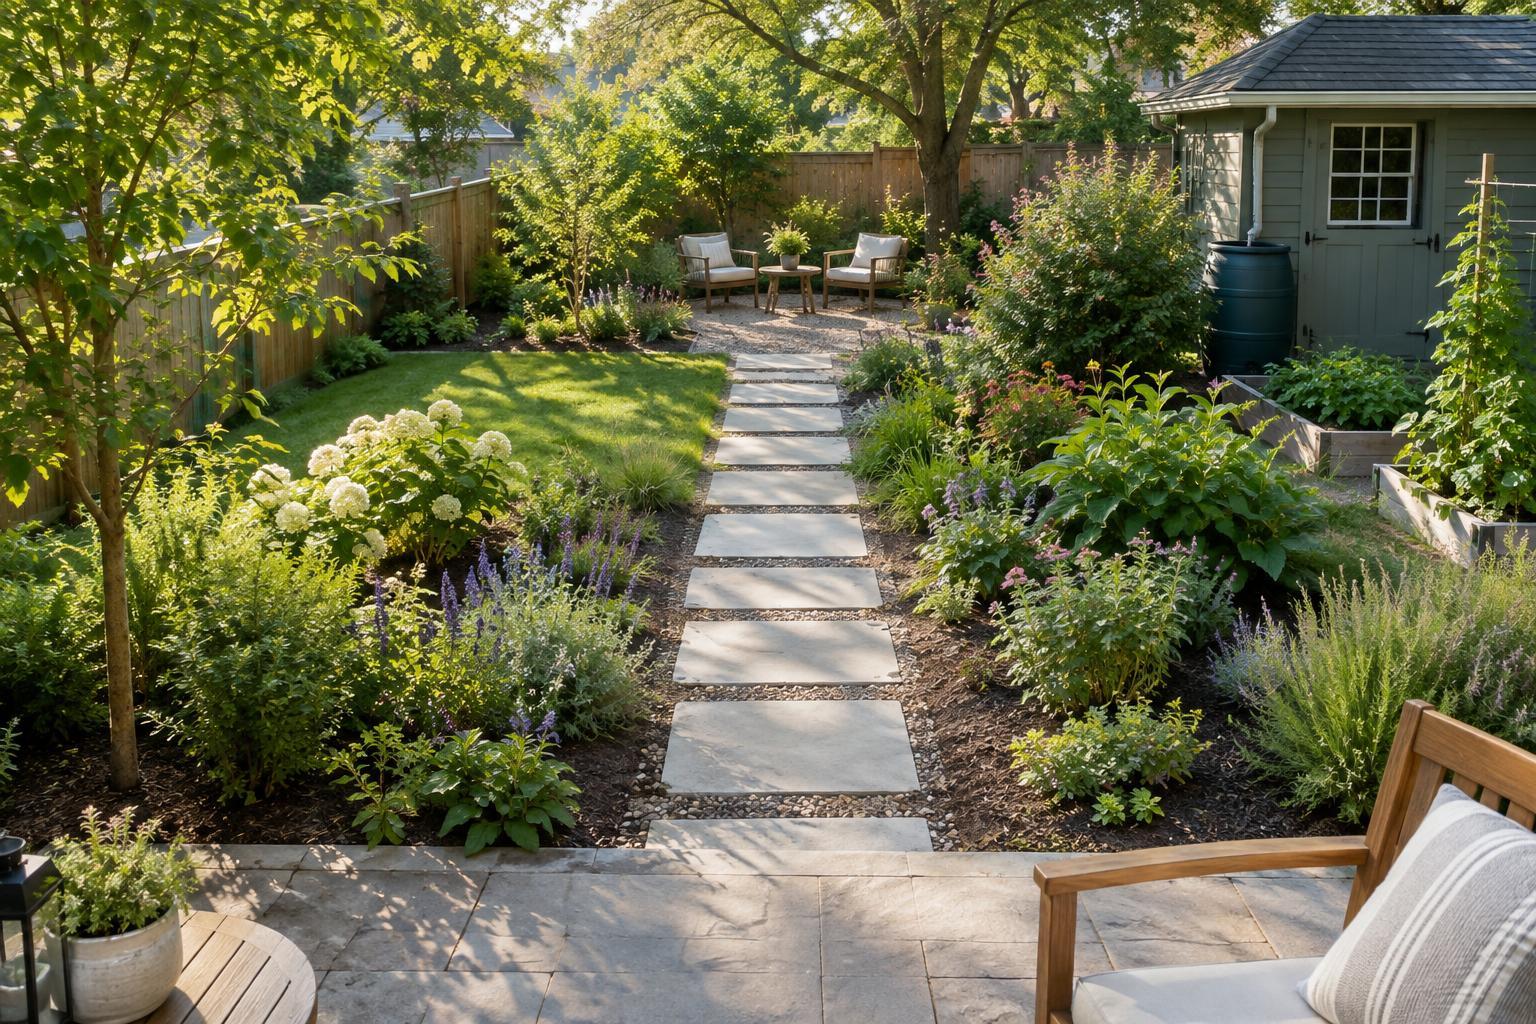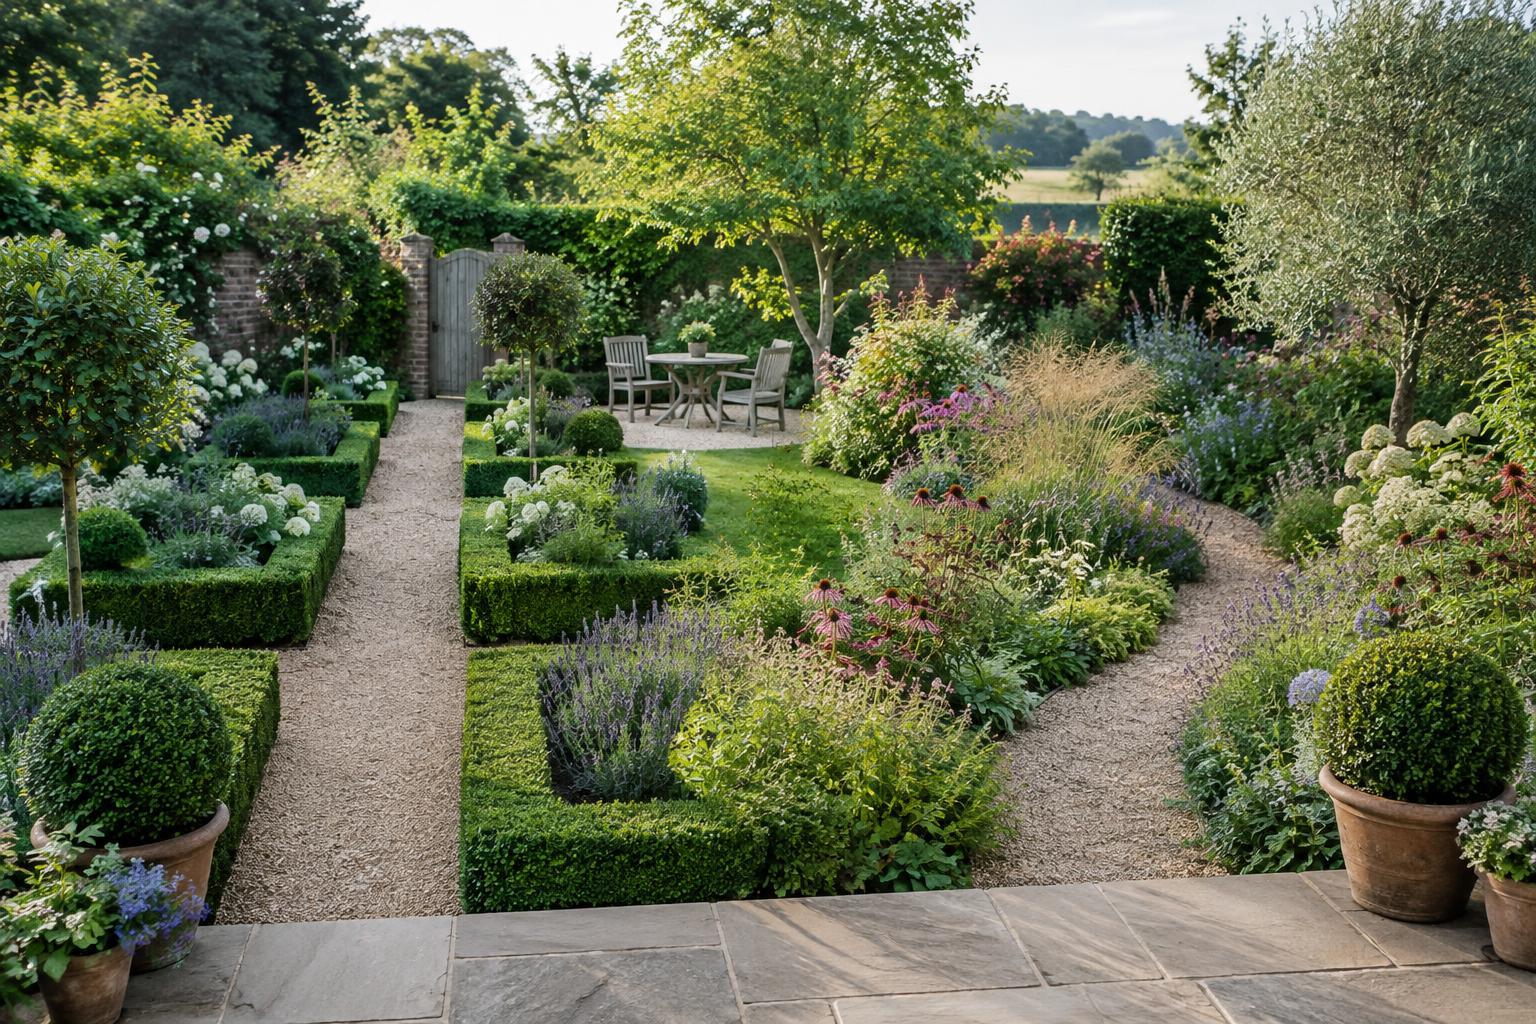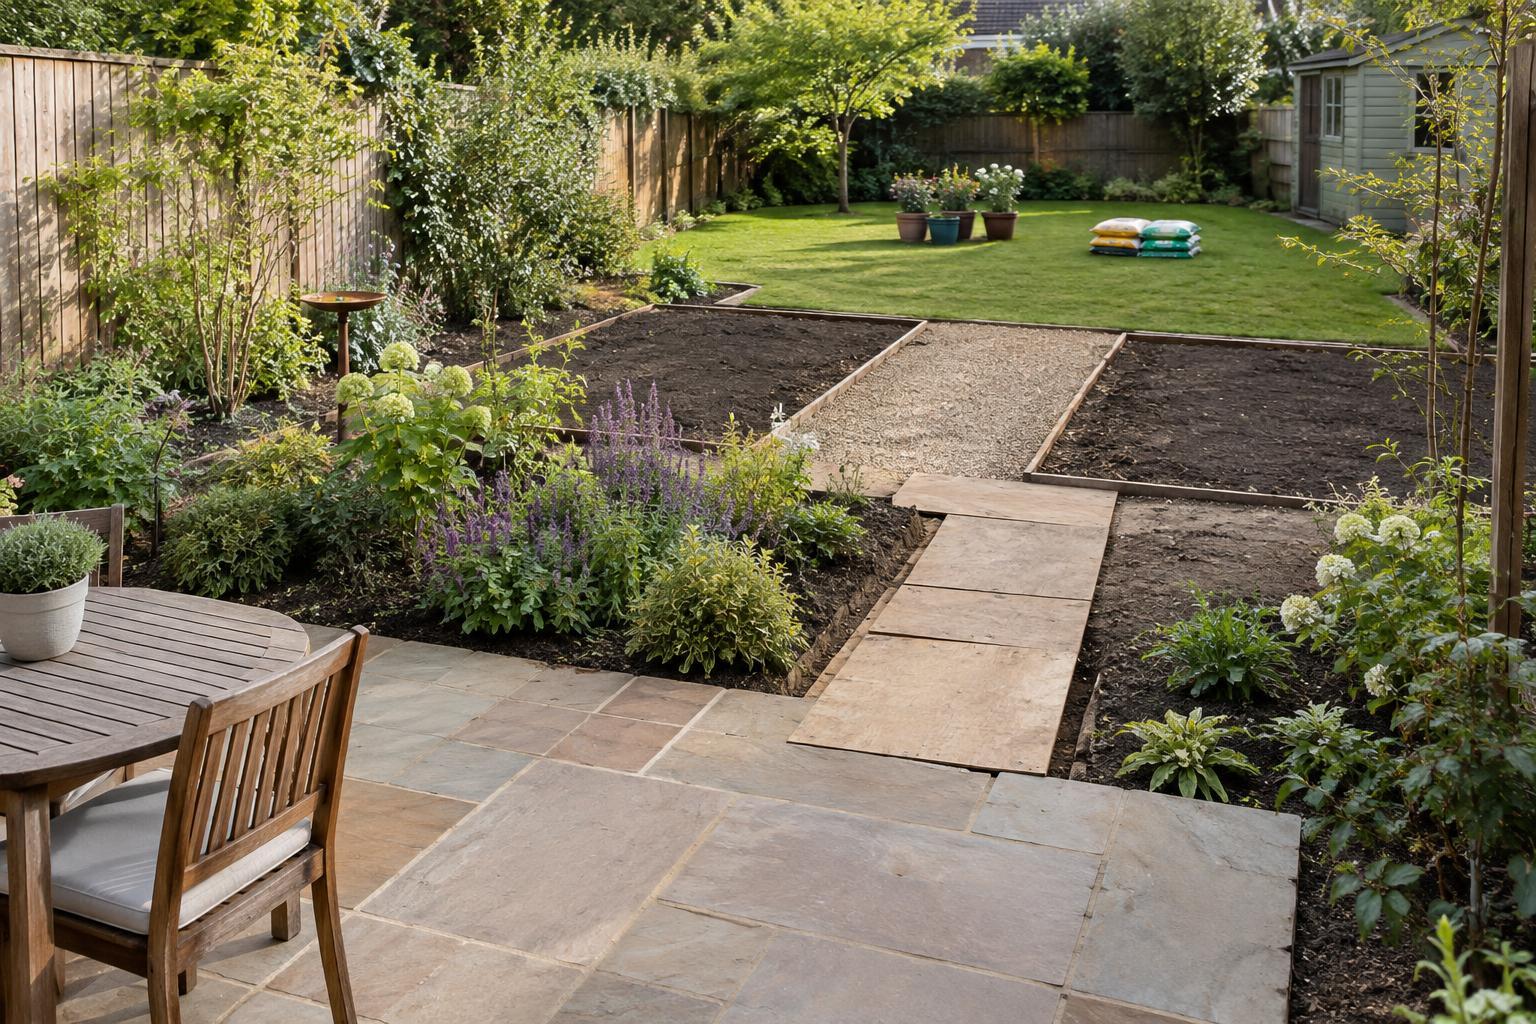
Start with a working sketch
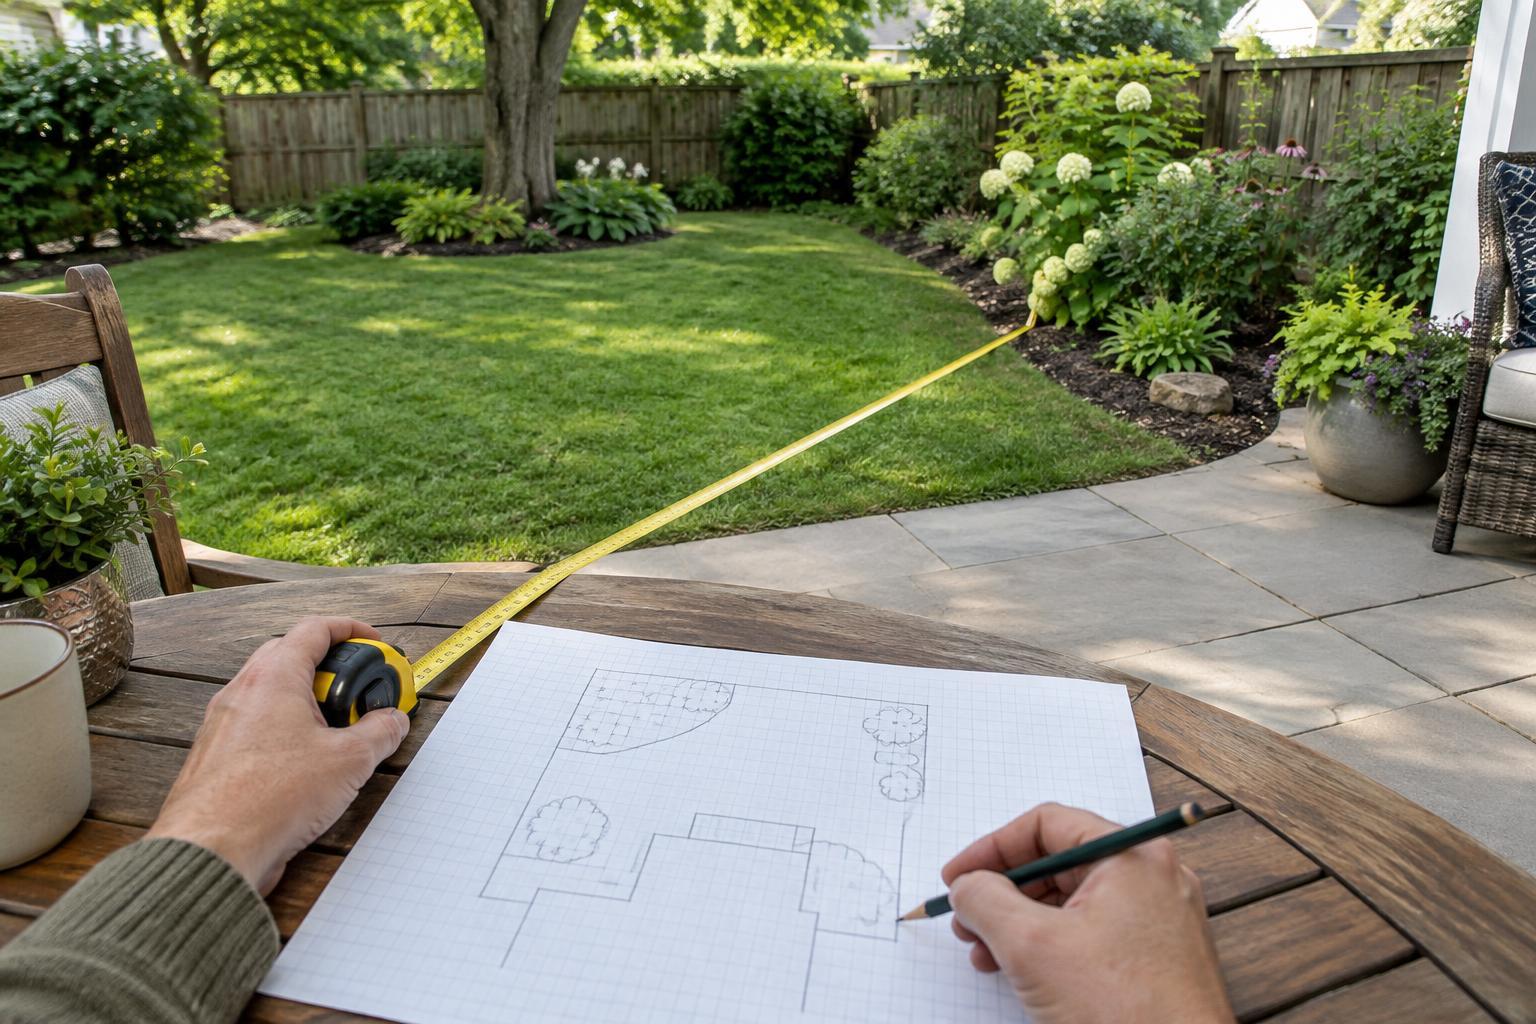
Before measuring, draw a rough outline of the yard on plain paper. It does not need to be neat or proportional. Add the house, fences, gates, existing beds, trees, paved areas and anything else you expect to keep. Leave room beside each feature for measurements. This first sketch is a place to collect information; you will make the scale plan later.
Gather a tape measure long enough for most of the distances you need, a pencil, paper and a clipboard or firm surface. A helper makes long measurements easier, but you can work alone by measuring in shorter stretches. Choose one unit—feet and inches, or meters and centimeters—and use it consistently. Label measurements as you go rather than relying on memory.
Measure the outline and fixed features
Begin with the yard’s main dimensions. Measure along each accessible edge, including changes in direction rather than treating an irregular boundary as a rectangle. If a fence or hedge makes a boundary hard to reach, note which measurements are estimates. Measure the length of the house wall facing the yard and the positions of doors, steps and windows that might affect a future layout.
Next, locate features that cannot easily move. Measure their size and their distance from two known reference points where practical. For example, a tree trunk might be 12 feet from a house corner and 18 feet from a second point along the same wall. Those two distances help you place it more accurately on the drawing than a single measurement would. Mark the approximate spread of the canopy separately from the trunk.
Measure paths and patios at their widest and narrowest points if their edges are uneven. Record changes in level, low spots and areas where water tends to collect. On a steep slope, distances measured along the ground can differ from distances shown on an overhead plan; mark them as approximate rather than treating the sketch as a grading survey. Your garden plan is a planning aid, not a way to establish a legal property boundary.
Choose a scale that fits the page
A scale assigns a small distance on paper to a larger distance outdoors. For a modest yard, you could use quarter-inch graph paper with one square representing two feet. A yard measuring 30 by 40 feet would then occupy 15 by 20 squares. Check your longest measurement before settling on a scale so the entire yard fits on the page, with space for notes.
Write the scale clearly on the drawing, such as “one square = two feet.” Then draw the outer edges and house wall using a ruler. Transfer each measured feature using the same scale: a six-foot-wide patio, for instance, would be three squares wide. For irregular shapes, plot the measured corners first and connect them. Small differences between measurements are common; note a mismatch rather than quietly shifting a fixed feature to make the drawing look tidy.
Add the conditions that shape a garden
A scale plan is more useful when it shows how the space behaves, not just what occupies it. Add a north arrow if you can determine north, and note which areas receive morning or afternoon sun during the season you are planning for. Shade changes as the sun’s path and plant growth change, so treat these notes as observations rather than permanent boundaries.
Mark views you want to keep or screen, routes people already take, hose connections, outdoor taps and areas that need access for maintenance. You can also indicate where you have noticed wind exposure or soggy soil. Keep these notes light or use a separate copy of the plan so they do not obscure dimensions.
Use copies to test ideas
Keep one clean drawing as your base plan, then make copies for different layouts. Sketch possible beds, paths, seating areas or planting zones on the copies. Because the drawing is to scale, you can compare their approximate sizes with the space available instead of guessing whether everything will fit.
Before committing to a design, take the plan back outside. Walk the routes you have drawn, check that gates and doors can open, and look at the space from places where you spend time. If a measurement or shape seems wrong, correct the base plan. A simple plan does not have to capture every detail: it succeeds when it helps you make decisions that work in the real yard.