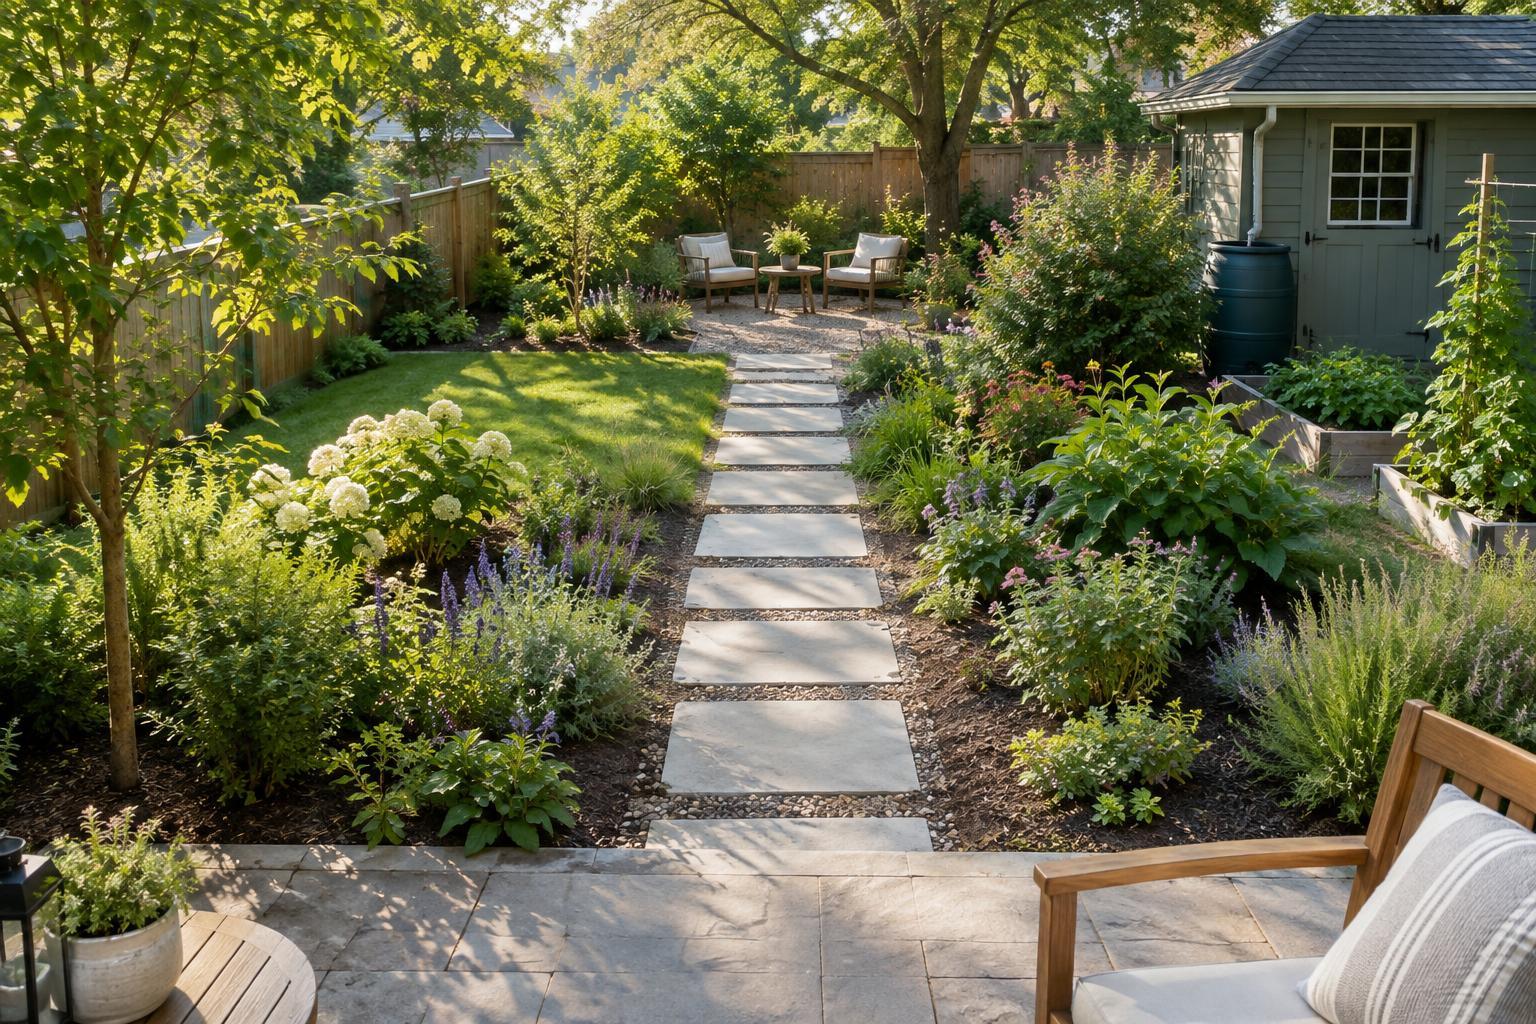
Start with a simple garden sketch
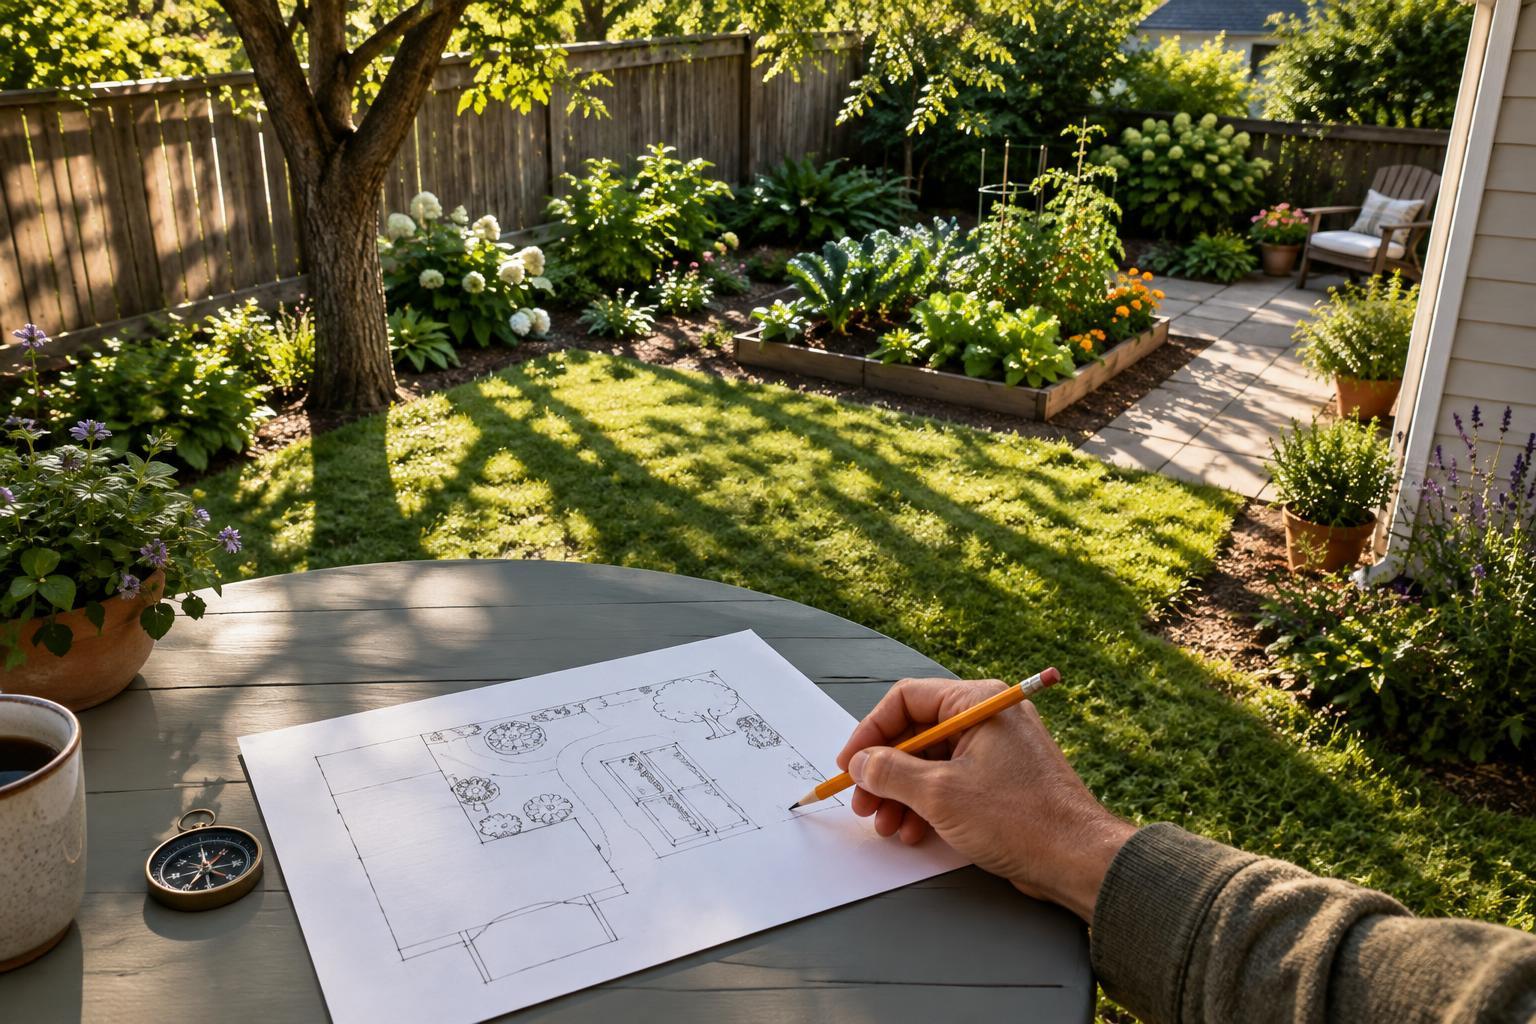
You do not need a surveyor’s plan to understand your garden’s light. Draw the rough outline of the space, then mark the house, fences, sheds, large trees, existing beds and any structures that cast a shadow. Label fixed points, such as a path or gate, so you can match your observations to the sketch later. If your garden has several levels or areas separated by walls, make a small map for each one.
Add the direction of north if you know it, but do not rely on compass direction alone. A wall, neighboring building or tree canopy can matter more than the direction a bed faces. Your aim is to record where light actually reaches the ground, not where you expect it to fall.
Watch the light move through the day
Choose a day when the weather is clear enough to see distinct shadows. Visit the garden in the morning, around the middle of the day and in the late afternoon. At each visit, mark the approximate boundary between sun and shade on a copy of your sketch. Use a different color or label for each time. If you can, add an observation between those visits, especially for a bed you plan to use for vegetables or flowers that need plenty of light.
Stand where the plants will grow, rather than judging a bed from the kitchen window. A sunny patch on a fence may not mean the soil below it receives direct sun. Note whether shade comes from a solid structure or filters through leaves. Also look for small differences: the front of a wide bed may stay bright while its back edge remains shaded. If clouds interrupt an observation, mark it as uncertain and check again another day.
Account for seasonal changes
One day’s map is a snapshot, not a permanent description. The sun’s path changes through the year, and a deciduous tree may cast dense shade when in leaf but let much more light through when bare. A summer map is particularly useful for planning warm-season crops and outdoor seating; observations in another season can reveal how different the same corner feels at other times of year.
You do not have to monitor the garden every week. Keep your first map, then revisit it when the season changes noticeably or before making a major planting decision. Record changes that are easy to overlook, such as a hedge filling out, a climbing plant covering a trellis or a new structure blocking afternoon light. Where shadows cross a property boundary, observe them from your own garden rather than assuming how they will move.
Turn observations into useful zones
Compare your sketches and make a working map of areas that get long stretches of direct sun, areas that receive sun for only part of the day and areas that are mostly shaded. Plant labels often describe these conditions as full sun, partial shade or shade, but the number of hours implied can vary by plant and growing conditions. Your notes about when light arrives are often more useful than a single label.
Morning sun and afternoon sun can make a space feel different. A bed with bright mornings and afternoon shade may suit plants that struggle in intense heat, while an exposed afternoon spot may dry out quickly. Light is only one part of the picture: soil moisture, drainage, wind and reflected heat from paving or walls also affect what will thrive. Add those observations to your map rather than treating every sunny or shady area as identical.
Use the map to plan, then keep adjusting
Place plants according to their light needs, leaving room for them to grow without shading smaller neighbors. Before building a raised bed or installing a permanent seating area, check its intended position at the time of day you expect to use it. A breakfast spot might benefit from morning sun, while a place to sit on hot afternoons may be more comfortable with reliable shade. Containers offer a way to test a position before committing plants to the ground.
Keep the map with your garden notes and update it as plants mature. Trees and shrubs can change the light available beneath and around them, sometimes gradually enough to escape notice. If a plant is not growing well, compare its actual light with what you thought the site received, then check other possible causes too. A sun-and-shade map is most valuable as a practical guide you can revise, not a set of permanent rules.