Start with a simple base map
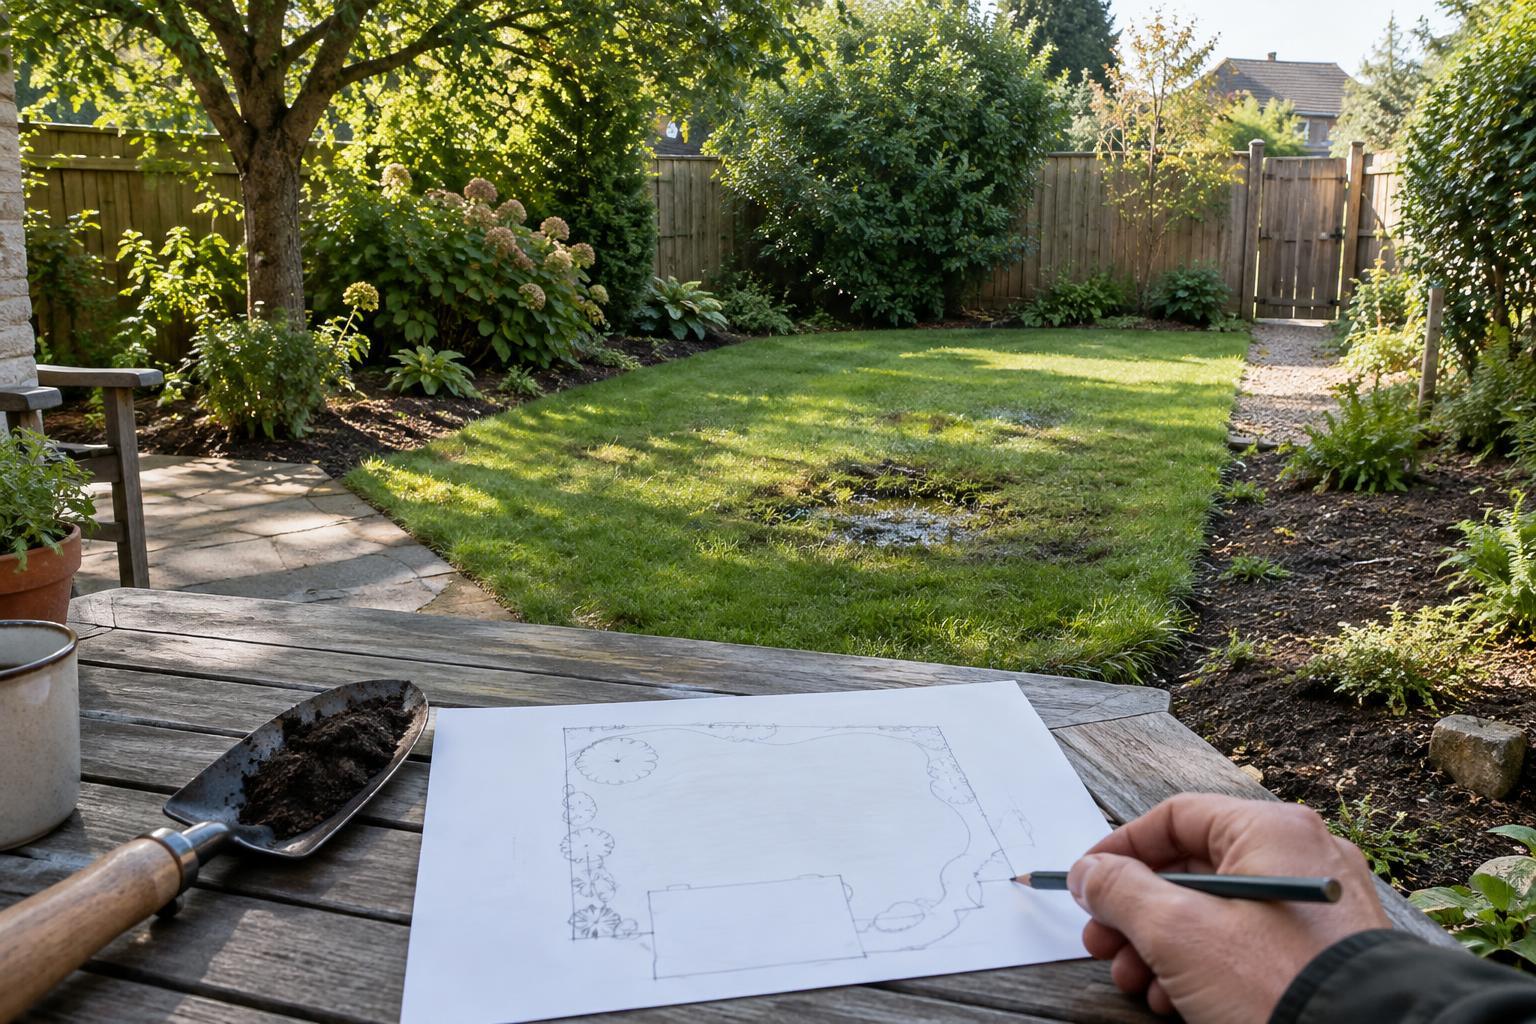
Before deciding where a path or border should go, sketch what is already there. Measure the approximate length and width of the space, then mark the house, doors, fences, walls, established trees, paved areas and any changes in level. A tape measure helps, but the first drawing does not need to be beautiful. Its job is to keep you from designing around guessed distances.
Add features that may limit where you can dig or build, such as drains, inspection covers, outdoor taps and utility equipment. Note overhead lines and areas that need to remain accessible for maintenance. If you are unsure where buried services run, check before any excavation. Take photographs from the house and from each corner of the garden; views that seem obvious on site can be easy to forget later.
Follow the light and weather
Observe where sunlight falls in the morning, around midday and later in the day. Repeat this when you can across seasons: a spot that is bright when trees are bare may be shaded once they leaf out. Buildings, fences and neighboring trees can also cast substantial shadows. Mark the areas that are consistently sunny, partly shaded or mostly shaded rather than treating the whole garden as one growing condition.
Pay attention to wind, heat and shelter as well. A wall may create a warm, protected pocket, while an open corner may feel exposed. Paving can become uncomfortable under strong sun, and a shaded sitting area may feel cool at times when you want to use it. These observations help you place seating and choose plants more reliably than a compass direction alone. If you have only visited at one time of day, label your notes as provisional.
Get to know the soil and water
Look at the soil in several places rather than assuming it is uniform. Beds near a building, an old path and a tree may behave very differently. Is the ground compacted? Does it crumble when handled, or stay sticky after rain? Are there roots, rubble or signs of previous landscaping? You do not need to diagnose every detail now; record the differences that could affect planting or construction.
Visit after rainfall if possible. Note where puddles linger, where water flows from roofs or higher ground, and where soil dries quickly. A low patch may need a different use or planting approach from a raised, free-draining area. Avoid treating a single wet or dry day as the full picture, particularly in a climate with strong seasonal changes. Keeping existing drainage patterns in mind can prevent a new path or raised area from sending water somewhere inconvenient.
Map movement, views and existing life
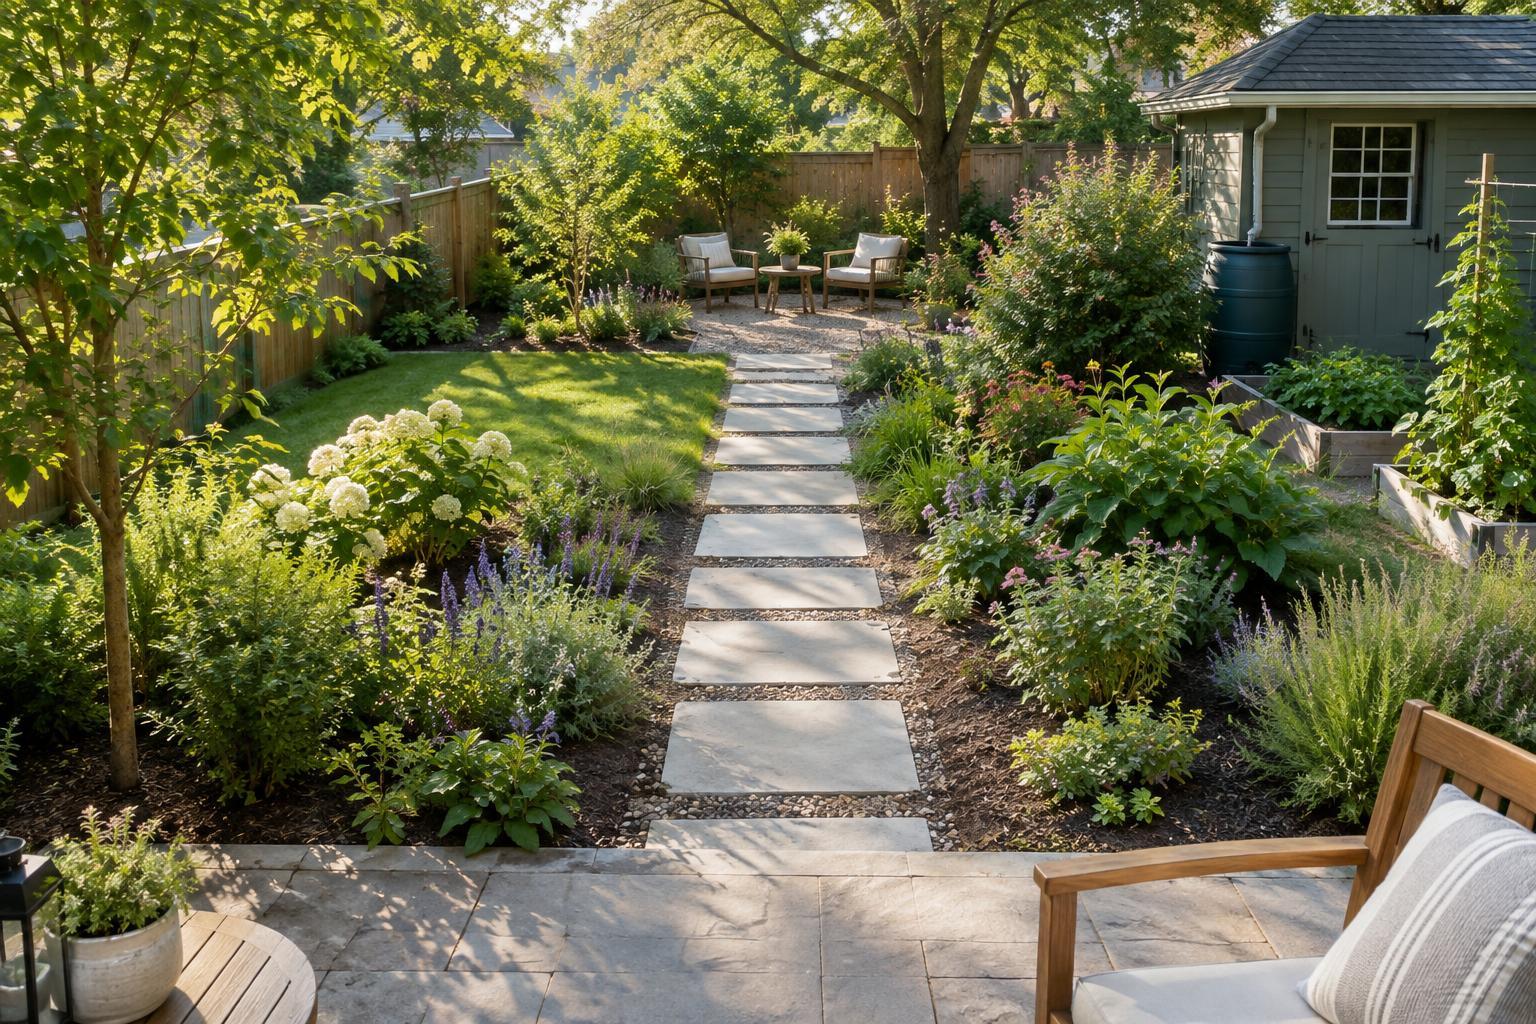
Walk the routes you already take: from the back door to a gate, tap, shed, compost area or clothesline. These repeated trips show where a practical path belongs. Consider how much room you need to carry tools, move bins or pass another person. Notice where you naturally pause, what you enjoy looking at from inside the house, and which views you would rather soften.
Record what is growing before clearing anything. An established tree may provide welcome shade and structure, while a healthy shrub could anchor a new border. Also note plants that crowd routes or appear to struggle in their current spot. Watch for birds, insects and other wildlife using existing cover, flowers or water. Even if you intend to redesign the space, keeping useful habitat and mature plants can give the new garden a head start.
Turn observations into design priorities
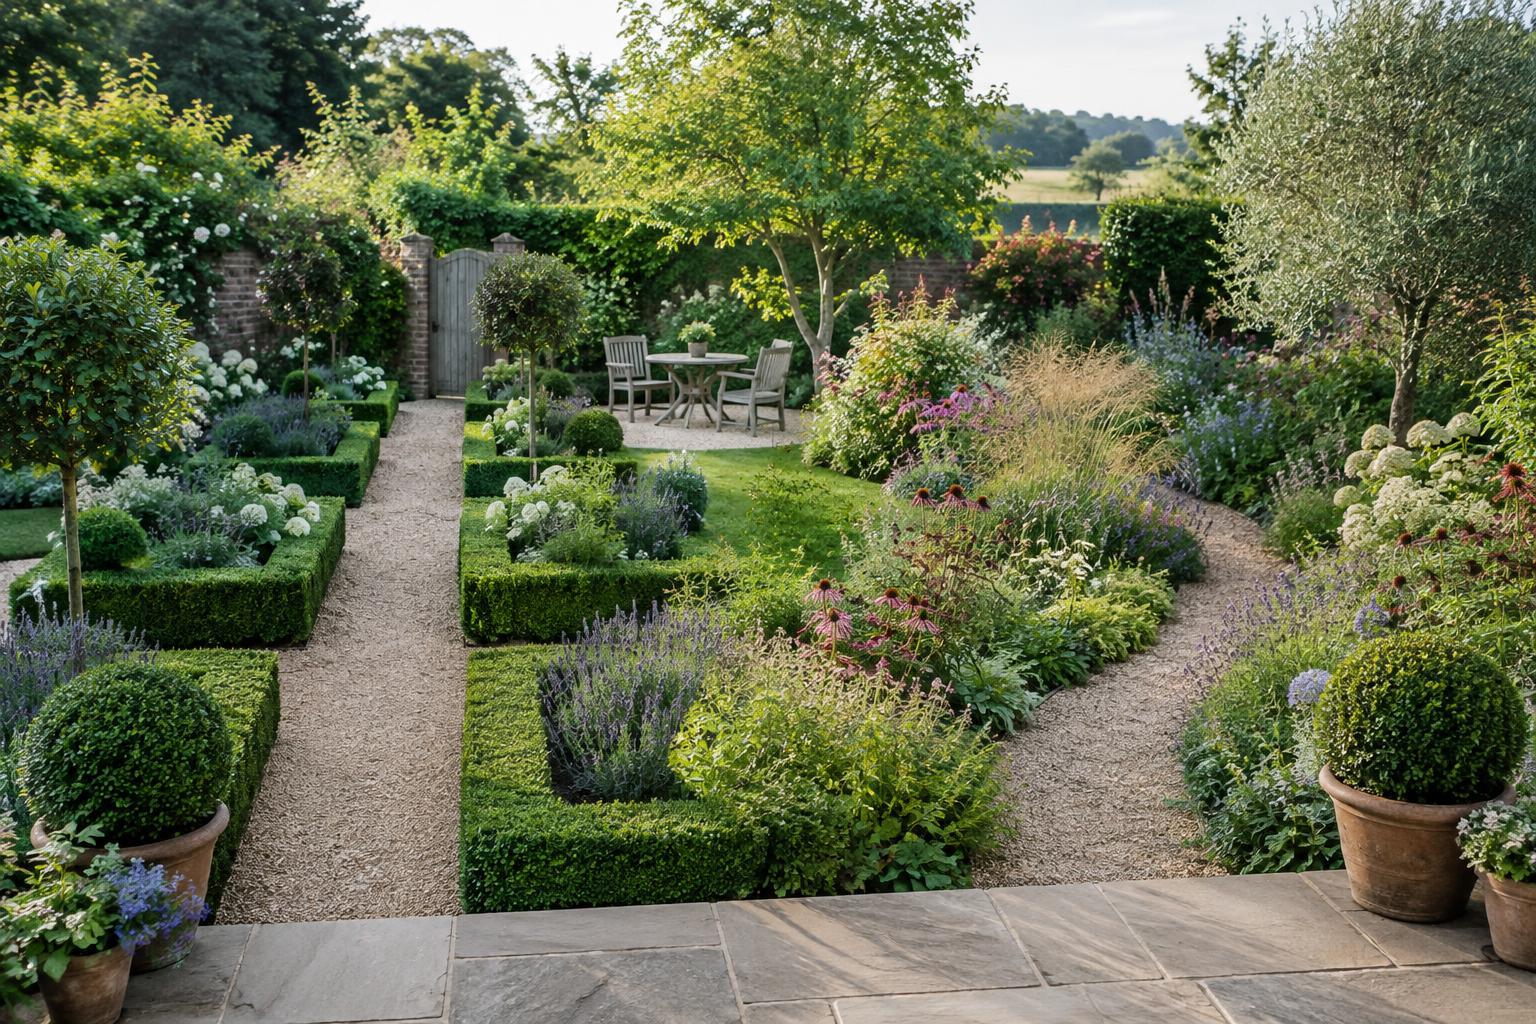
Now add a second layer to your map: label opportunities and constraints. A sunny area close to water might suit containers or an edible bed; a sheltered position with a pleasant view might suit seating. A narrow, heavily used route may be better kept clear than filled with planting. These are starting points, not fixed rules. Consider the time you can spend maintaining each area and the conditions plants would face there.
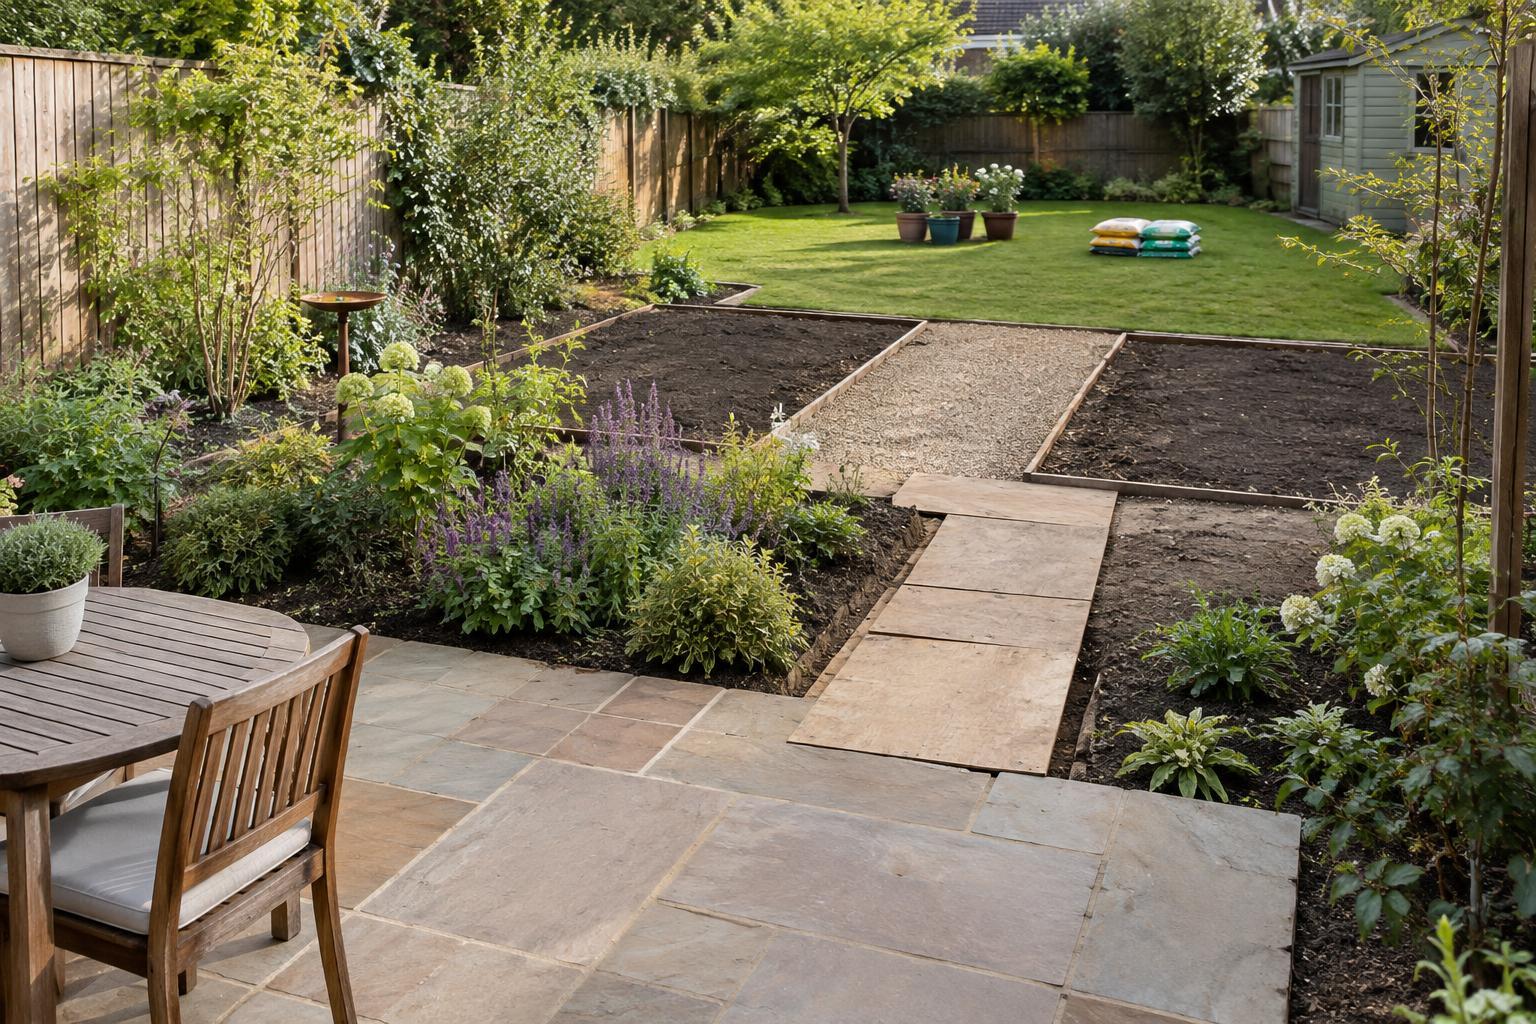
Finally, write a short list of what the garden needs to do, ordered by importance. Separate essentials, such as safe access and space for everyday tasks, from wishes that could be added later. Check each proposed feature against your site notes before drawing its final shape. A good first plan does not solve every detail; it places the main uses where the light, ground conditions and daily routines give them the best chance to work.