Start with the seed packet, not a routine
One of the easiest mistakes is treating every seed alike. Some seeds germinate best when covered with soil; others need light and should be pressed onto the surface. Germination times and preferred temperatures also vary. Before sowing, check the packet for depth, light and temperature guidance. If you saved the seeds yourself, look up the needs of that particular plant rather than relying on a rule meant for a different crop.
Old or poorly stored seed can also make a sound method look like a failure. Seeds generally keep best when protected from excess heat and moisture, but their useful life varies by species. If you are unsure about a batch, sow a few extra seeds or test a small sample on a damp paper towel before committing tray space. Label containers with the plant name and sowing date so you can judge progress against a realistic germination window.
Avoid sowing too deep or crowding the tray
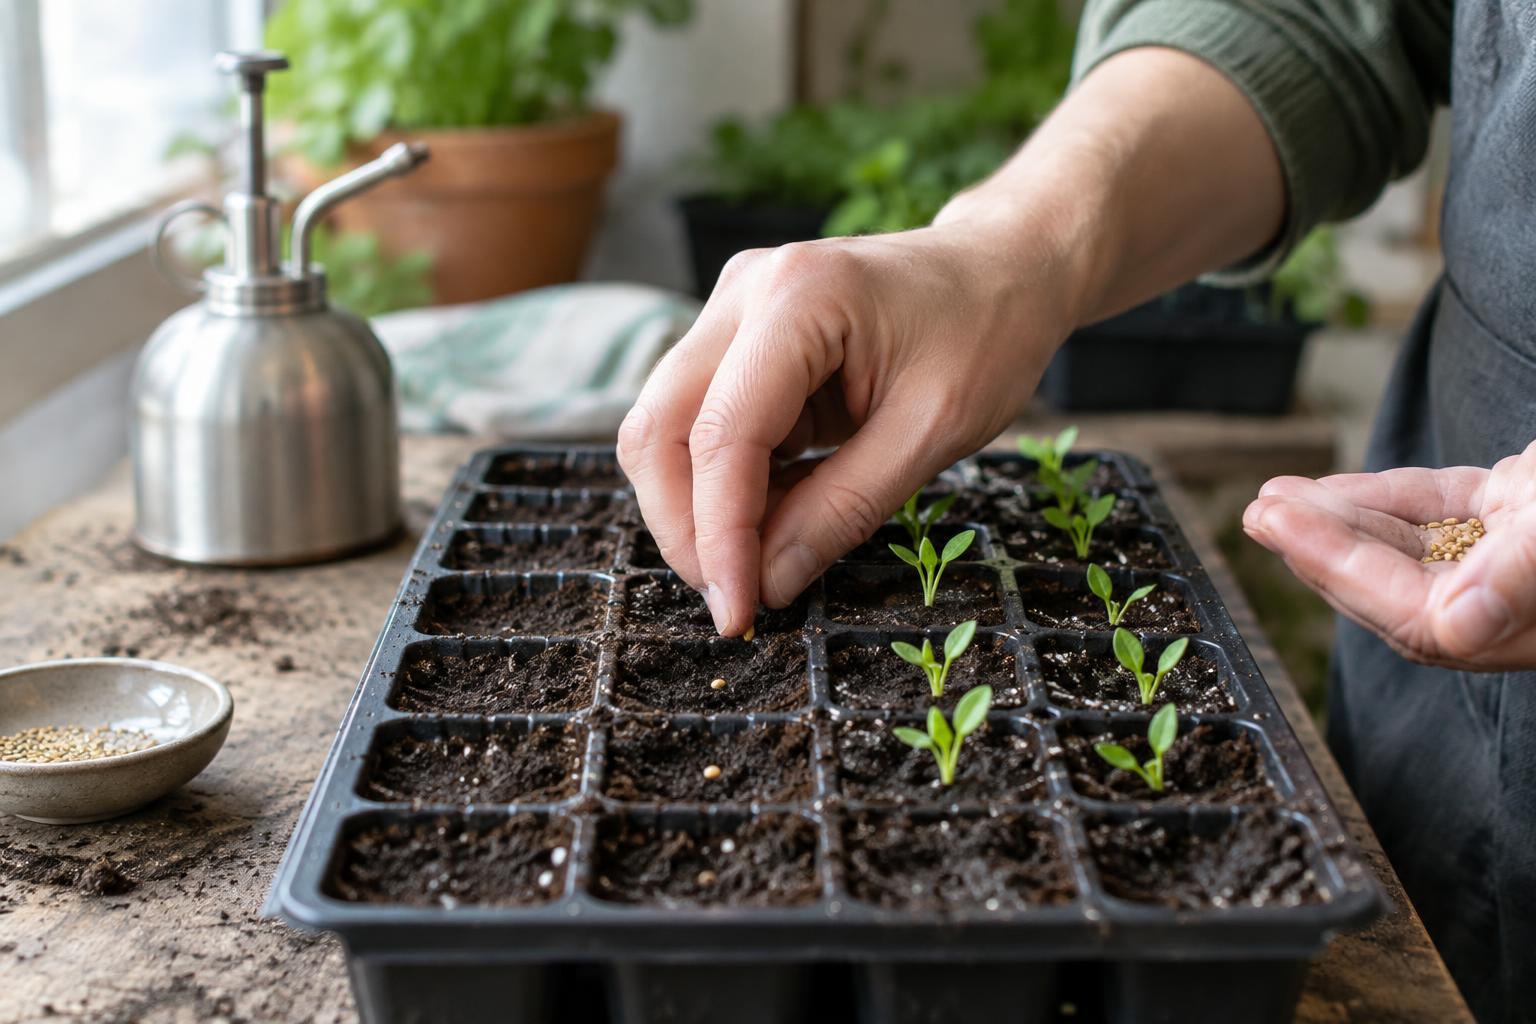
A seed planted too deep may use up its stored energy before its shoot reaches the surface. A seed left exposed when it needs covering may dry out. Follow the packet’s depth guidance, and use a fine layer of seed-starting mix when only light covering is needed. Gently firm the mix after sowing so the seed makes contact with it, without packing the surface into a hard crust.
Crowding seems efficient until seedlings compete for light and airflow. Sow with enough space to see and handle individual sprouts, especially if you plan to grow them in the same tray for a while. If you sow densely as insurance against uncertain germination, thin the extras after they emerge. Lift unwanted seedlings carefully or snip them at the soil line to avoid disturbing nearby roots.
Keep the mix moist, not waterlogged
Seeds need moisture to begin germinating, but saturated mix can leave too little air around them and encourage rot. Start with a seed-starting mix that feels evenly damp, like a wrung-out sponge. Containers should have drainage holes. Check the surface regularly and water gently when it starts to dry, rather than pouring on a large amount at once. Bottom watering can help avoid dislodging small seeds; let excess water drain away afterward.
A clear cover can slow evaporation while you wait for sprouts, but it is not a substitute for checking the tray. Condensation, soggy soil or a stale smell are signs to improve airflow and reassess watering. Remove or vent the cover once seedlings appear. A fine seed-starting mix usually gives small roots a more even environment than heavy garden soil, which can compact in a shallow container.
Match temperature and light to the stage of growth
Putting a tray wherever there is spare room can lead to slow or uneven germination. A windowsill may be bright but chilly at night; a warm corner may be too dim for seedlings once they emerge. Use the temperature range on the packet as your guide and consider the temperature of the mix, not just the room. If using a heat mat, check the tray often and move seedlings off it when that extra warmth is no longer needed.
Light needs can change between sowing and sprouting. Some seeds require light to germinate, while many covered seeds do not need bright light until they emerge. Once sprouts appear, weak light can cause long, leaning stems. Place seedlings in a bright location or use a grow light suited to seedlings, following its placement guidance. Rotate trays if light comes mainly from one side, and watch the plants rather than assuming one setup will suit every season.
Give seedlings time and adjust one thing at a time
Digging up seeds after a few quiet days can damage sprouts that are just beginning to grow. Check the expected germination period before deciding a sowing has failed. If nothing appears after that window, review the basics: Was the mix allowed to dry out? Did water stand in the tray? Was the seed buried too deeply, or kept outside its preferred temperature range? Several conditions can cause the same symptom, so a careful review is more useful than guessing.
When seedlings do emerge, do not rush them outdoors or into larger pots. Keep the mix gently moist and give them enough light. Pot them on when they are sturdy enough to handle and need more growing room. For plants started indoors, introduce outdoor conditions gradually before planting them out, and wait until conditions suit the crop. Good germination is only the first step; steady care afterward helps turn sprouts into resilient plants.